Smart Shell Overview #
The Smart Shell library in the Authoring Center is where you can house the shells you create (tables and charts fabricated with data objects) so that you can reuse the same shells in your Smart Pages without having to re-fabricate them each time.
In the Authoring Center > Smart Shells you can,
- Create new Smart Shells
- View all shells saved in the shell library
- Edit Smart Shells
The shell library also houses the shells you have uploaded from the Assette Editor.
- Upload Smart Shells from the Assette Editor
- Download Smart Shells from the Assette Editor
Create a new Smart Shell #
- Go to Authoring Center > Smart Shells and click CREATE NEW. (Make sure to have installed the Assette Editor before opening PowerPoint).
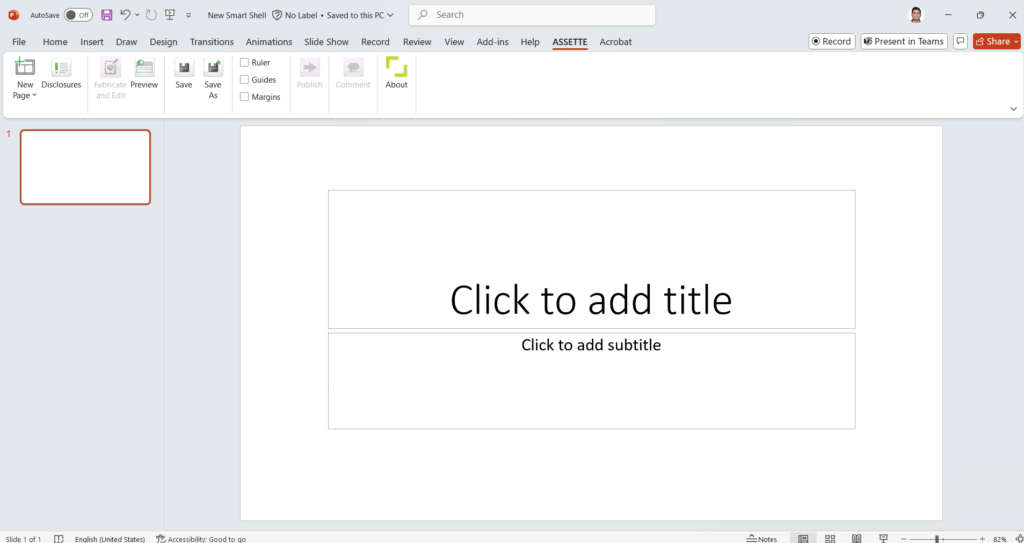
- The Smart Shell creation workspace is same as the Smart Page creation workspace in PowerPoint. Use the Assette Editor in PowerPoint to fabricate any table/chart/text with data objects. (related: Smart Pages).
- Once you have fabricated the shell click SAVE to upload the shell with a unique name to the shell library under the relevant shell category.
- Click Publish to make the shell available for use in the Smart Pages.
Note: The Smart Shell will be published upon approval via any existing active workflow- Class: Authoring Approvals | Category: Smart Shells.
Edit a Smart Shell #
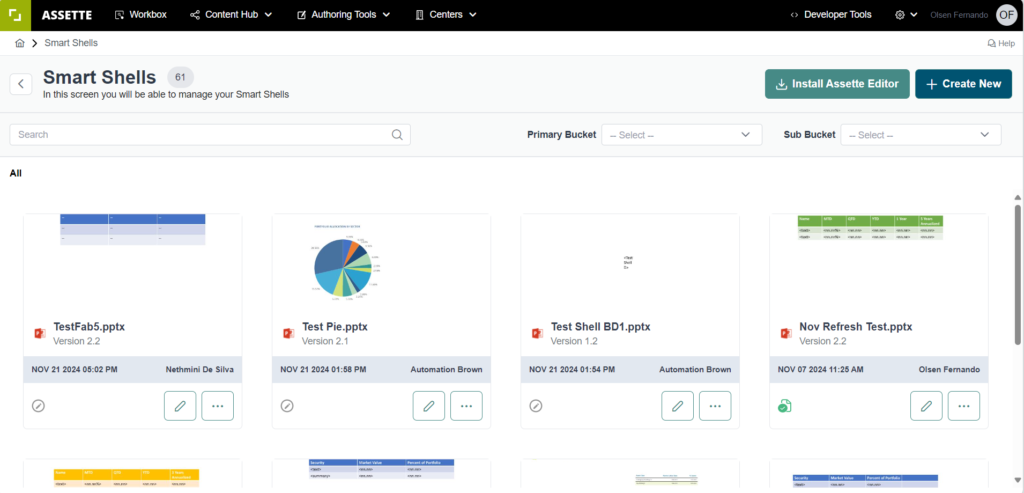
- All the Smart Shells you have created and saved are available in the shell library (Authoring Center > Smart Shells)
- You can view the status of each shell on the thumbnail.
 – In Draft – In Review – Published
 - Click on the name of the shell to have a quick view of the Smart Shell.
- Hover on the info icon to view the version number and other information about the shell such as the author and the last edited date-time.
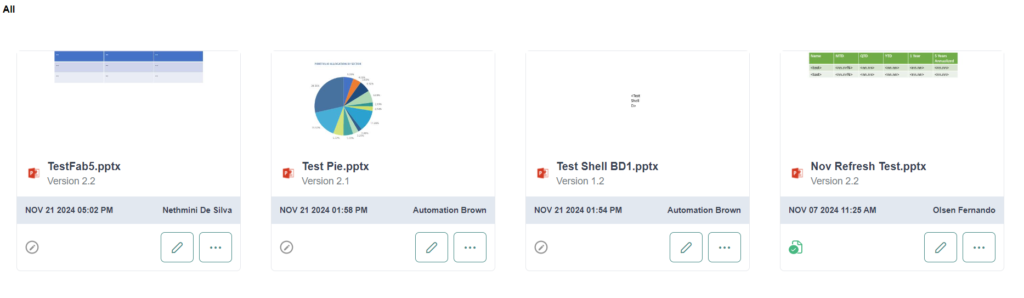
- To edit a shell, click on the hamburger menu icon of the shell-thumbnail and select Edit.
You can then open the PowerPoint workspace with the Assette Editor and make any modifications to the shell. Make sure to Save and/or Publish.
Note: The Smart Shell will be published upon approval via any existing active workflow- Class: Authoring Approvals | Category: Smart Shells.
- You also have the options in the hamburger menu to Rename and Delete a shell.
Upload Smart Shells from the Assette Editor #
- In addition to creating standalone Smart Shells from the Authoring Center > Smart Shells, you can also upload any shell you have created in your Smart Pages to the shell library from the Assette Editor.
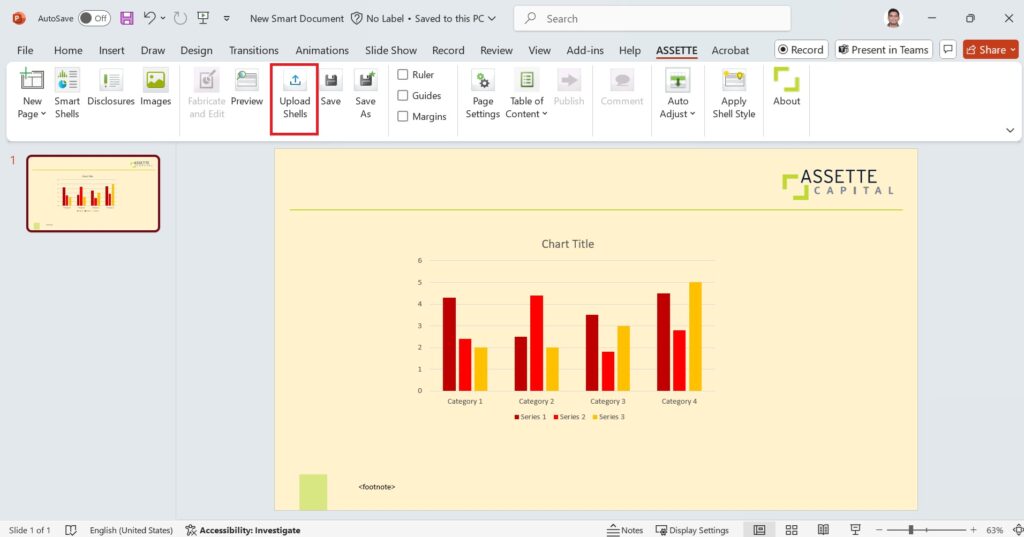
- To upload, select the Smart Shell in the Smart Page and click Upload Shells inside the Assette ribbon.
- Enter a unique name for the shell and select a shell category under which you want to save the shell in the shell library. Then click Save.
- The shell will be saved as a draft in the shell library (Authoring Center > Smart Shells). It will be available to be inserted into Smart Pages from the Assette Editor (Download Shells) only after been published.
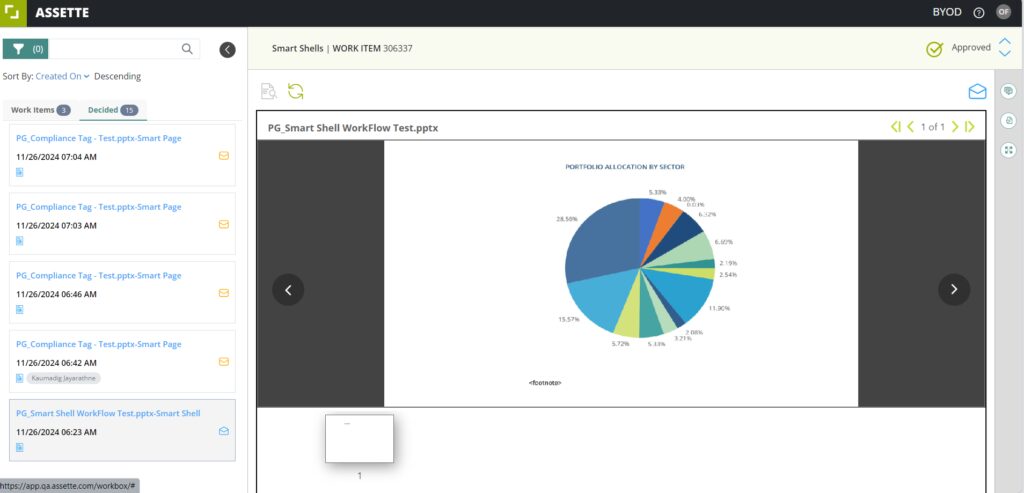
- To publish the saved shell, you need to submit the uploaded shell for approval from the Authoring Center > Smart Shells (refer to Create a new Smart Shell section above).
Download Smart Shells from the Assette Editor #
- To insert a Smart Shell that is saved in the shell library into Smart Pages, click Download Shells in the Assette Editor (Assette ribbon in PowerPoint).
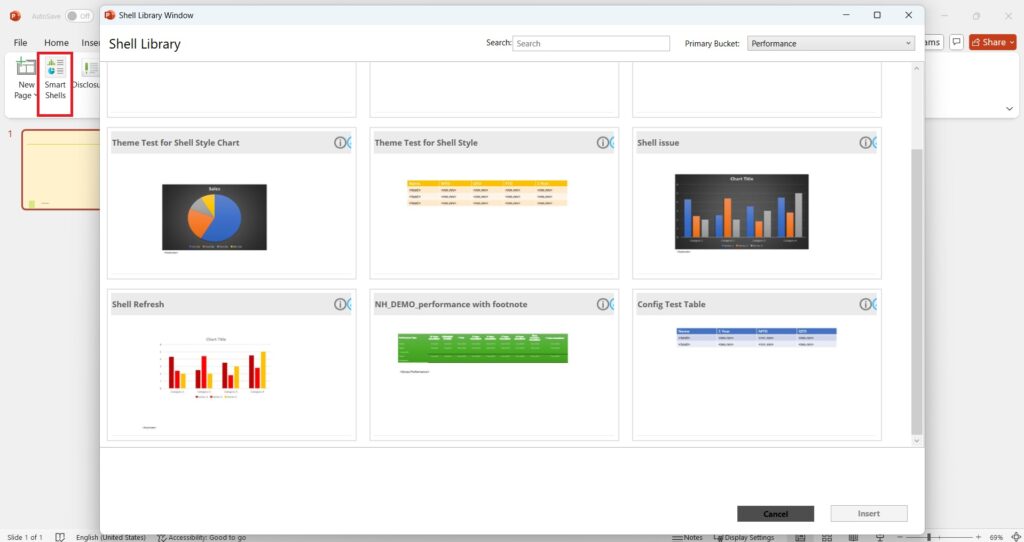
- Then from the shell library window, select the shell you want from under the relevant shell category and click Insert.
Note: The shell library accessed via the Assette Editor > Download Shells shows only the published versions of the Smart Shells that are in the library (so that you can insert only the published Smart Shells (upon approval) into the Smart Page.