Creating a Smart Doc involves a straightforward process of assembling, organizing, and configuring content using the tools provided. Here’s an explained guide to help you create and optimize your Smart Doc.
Start with Authoring Tools #
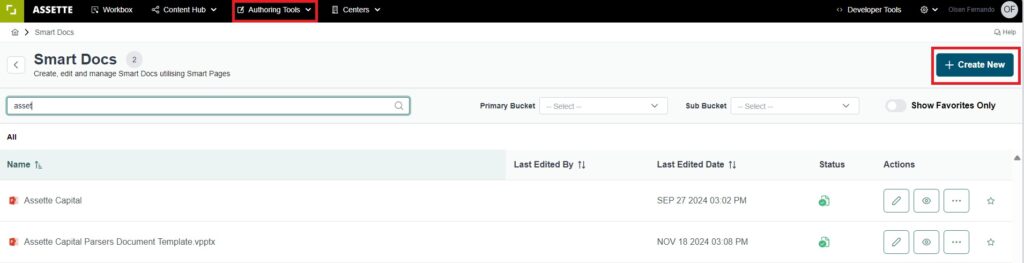
Begin by navigating to the Authoring Tools in the navigation bar to the top of the screen and select “Smart Docs”. Click on the “Create New” button to open the Smart Docs Editor, which launches in a new browser tab. This editor provides the workspace where you will build your document template.
Adding Smart Pages #
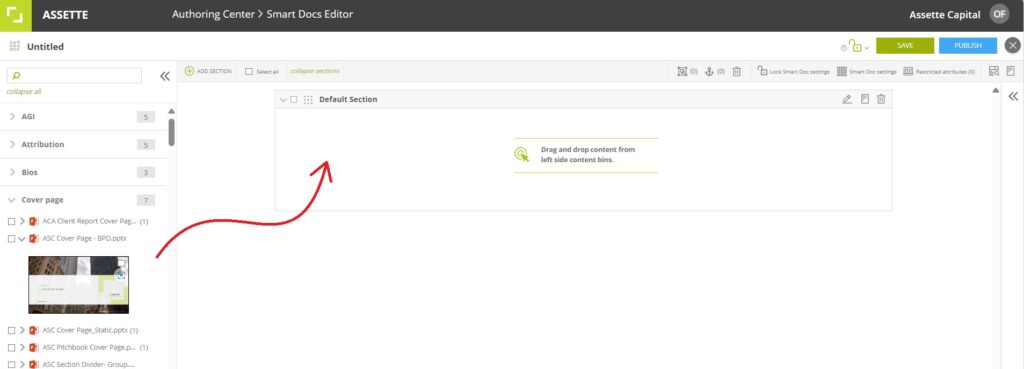
From the left side-panel, drag and drop the desired Smart Pages or individual slides into the workspace. Smart Pages can be added as entire groups or as individual slides, depending on your needs. If you wish to remove a page or slide, simply drag it back to the content bin or use the delete icon. Grouped slides remain together as a stack and can be moved collectively, while individually added slides can be adjusted separately.
Searching for Smart Pages #
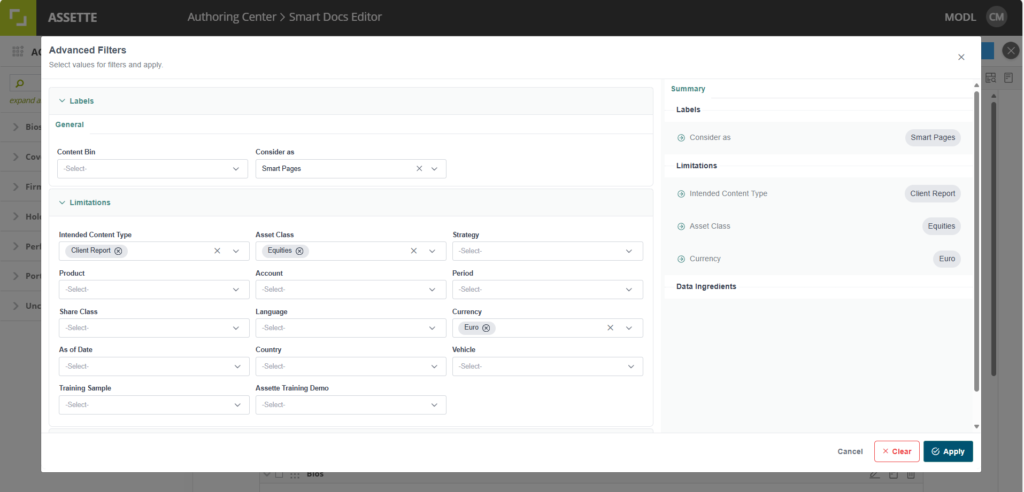
Users can search for a Smart Page within the Smart Doc Editor by simply typing in the search bar located at the top of the page. If a user needs, they can also use the advanced search using additional Content Classifications by clicking on the filter icon.
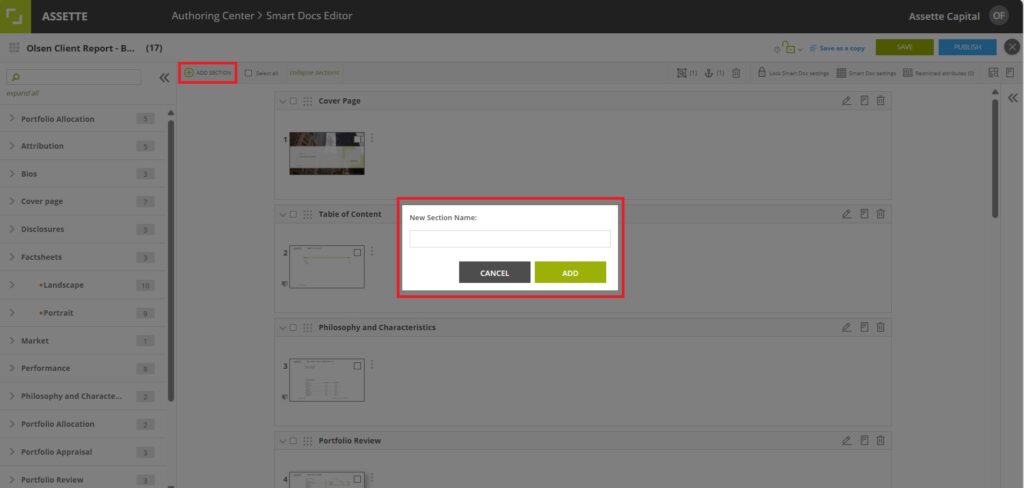
Organizing with Sections #
To organize your Smart Doc, create sections by clicking “ADD SECTION.” Provide a unique name for the section and start arranging your content. You can reorder items within or between sections by dragging and dropping them. Use the icons in the section panel to rename or remove sections as needed.
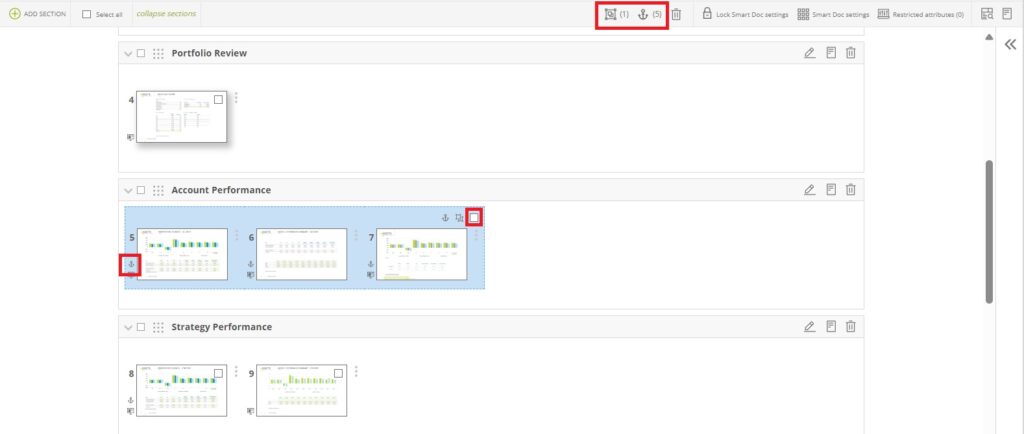
Grouping and Anchoring Content
You can group selected Smart Pages or slides by using the “Group” icon, enabling you to move or manage them as a single item. To anchor a page or group, use the “Anchor” icon, which prevents the content from being removed from the Smart Doc. Ungrouping or un-anchoring is just as simple, allowing flexibility as needed.
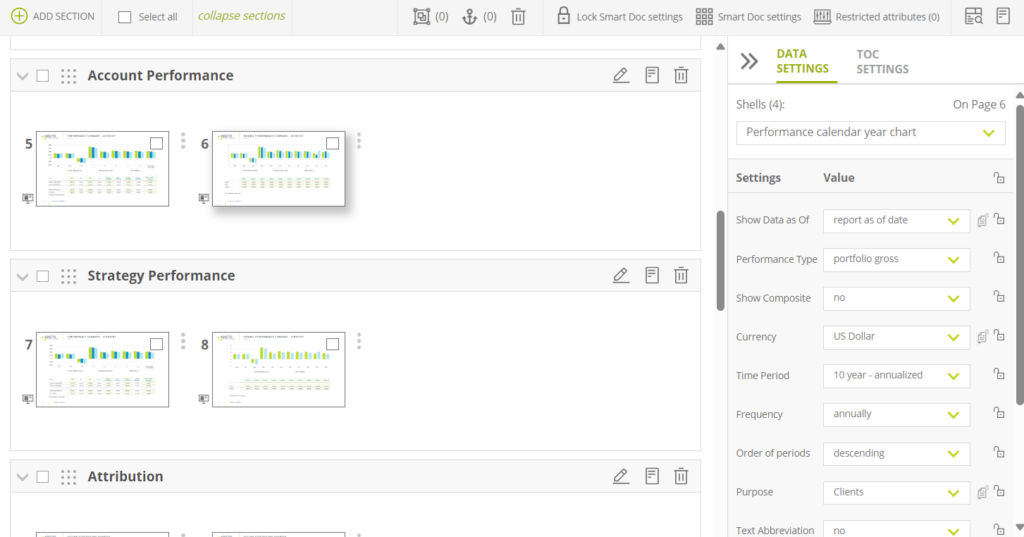
Adjust Data Settings
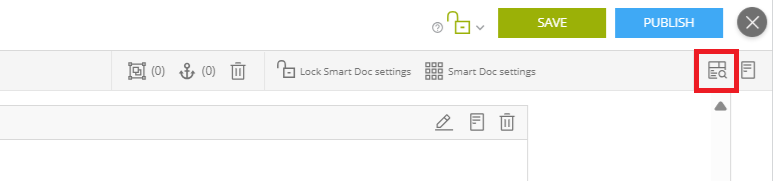
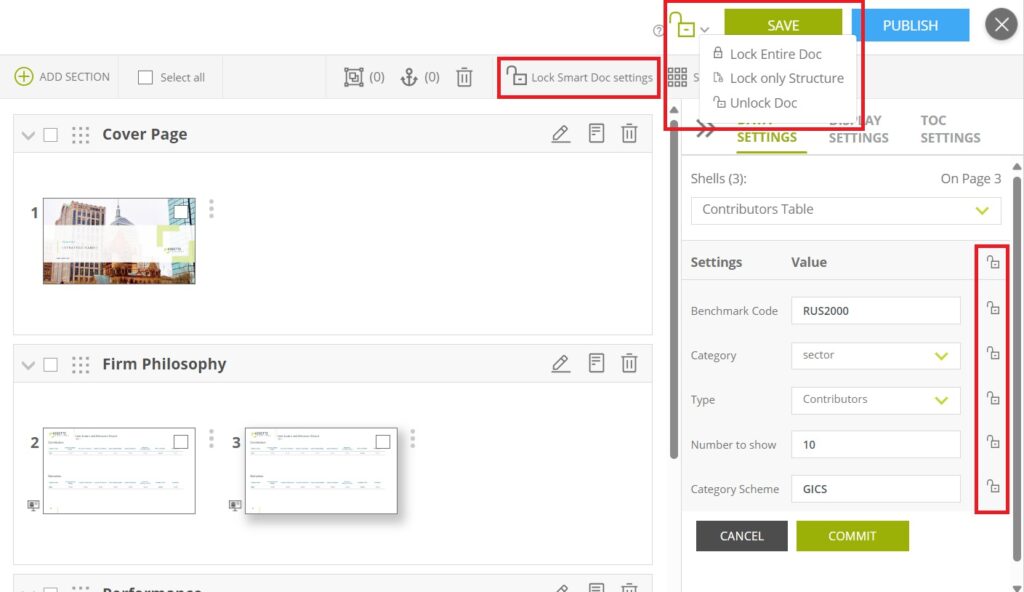
Customize the data settings of individual Smart Shells within Smart Pages using the right-side panel of the editor. These settings can be locked to ensure consistency across outputs. Always click “COMMIT” after making changes to save your updates.
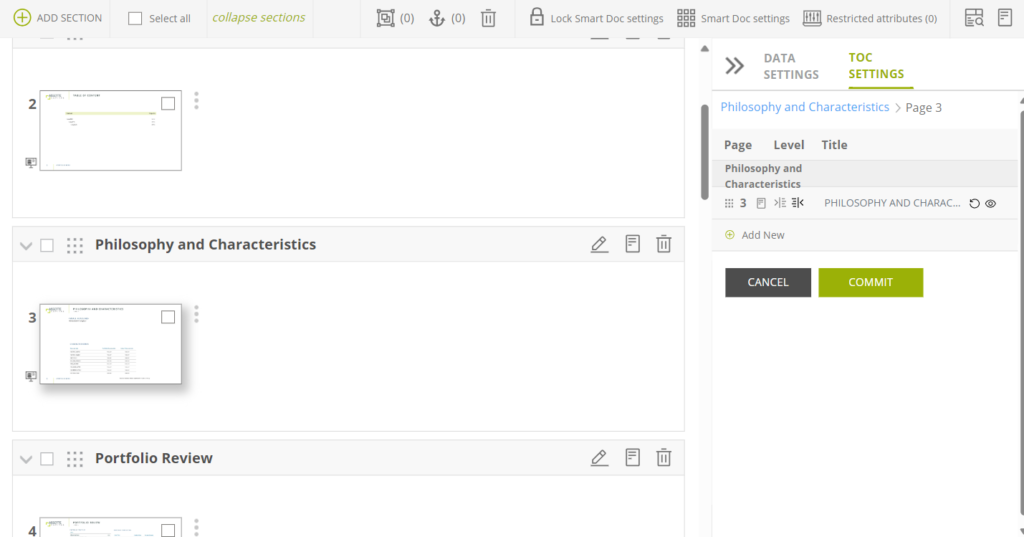
Configure Table of Contents (TOC)
Access the TOC settings to customize titles and layout for the entire document or individual sections and slides. You can add, edit, hide, or reorder titles, ensuring a polished structure for the final output. Internal titles added from the Assette Editor can be adjusted but not removed.
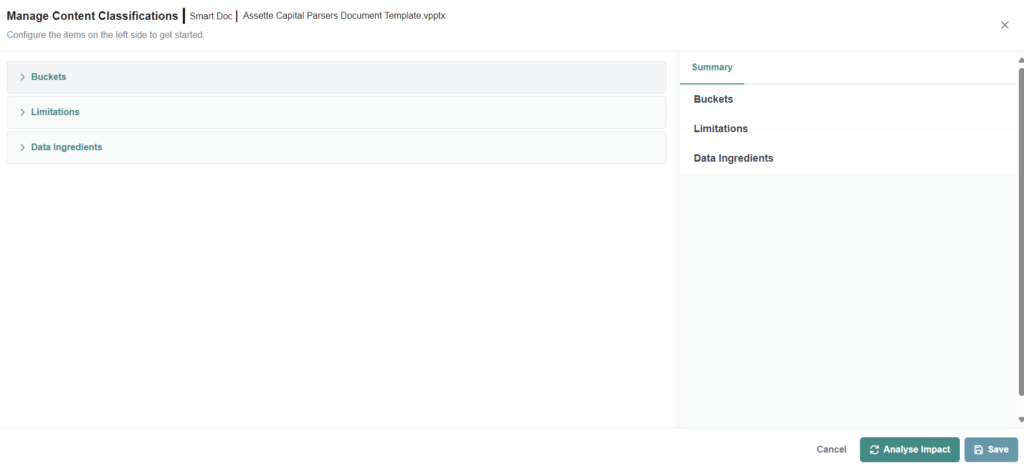
Manage Content Classifications
Smart Pages with restricted limitations automatically apply these limitations to the Smart Doc. This ensures that only compliant content is included and that outputs are generated for the appropriate accounts or products. You can view and adjust Content Limitations from the “Content Classifications” menu.
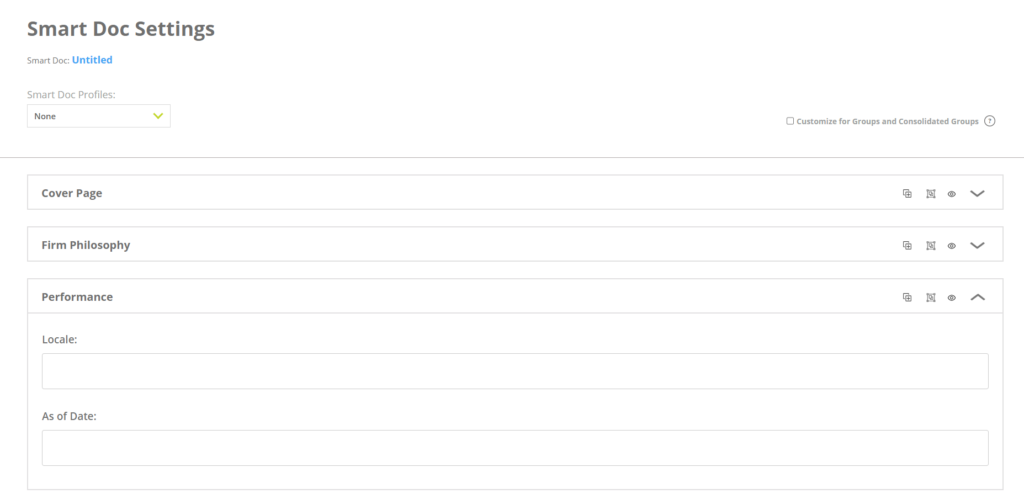
Smart Doc Settings
Customize how each section is generated by accessing “Smart Doc Settings.” Options include specifying an “As of Date,” locale settings, or cloning sections for repeated use with different criteria. These configurations ensure that your document meets the specific needs of various outputs.
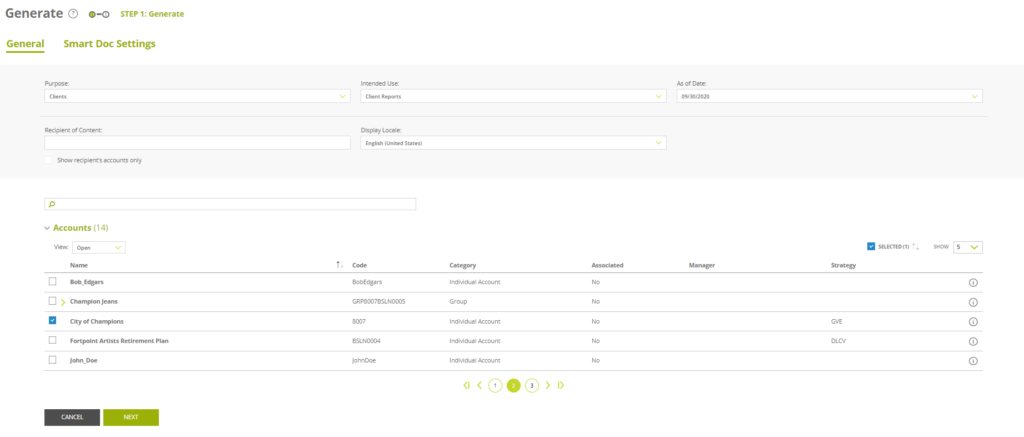
Preview with Data
Before finalizing, preview the Smart Doc with real data to verify accuracy and formatting. Use the “Preview with Data” option from the editor or generation overlay, selecting specific sections or the entire document as needed.
Locking and Generation
Ones your Smart Doc is complete, you can lock settings to prevent changes during output generation.
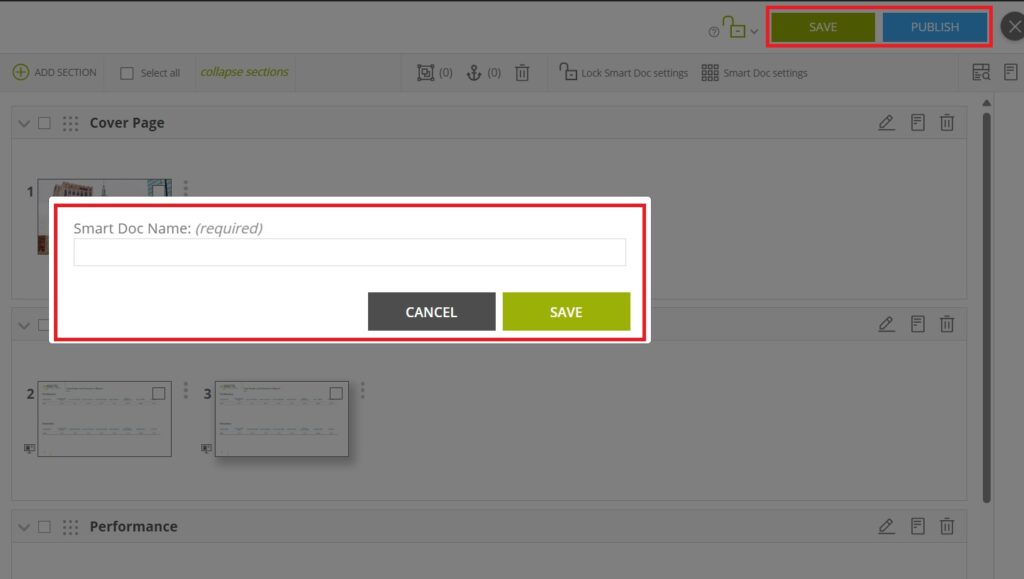
Save and Publish Your Smart Doc
Once your Smart Doc is ready, click “SAVE” to store it as a draft with a unique name. If you want to make it available for generating outputs, click “PUBLISH.” Published Smart Docs can be further edited or saved under a different name for future use by selecting “Save as a copy.”