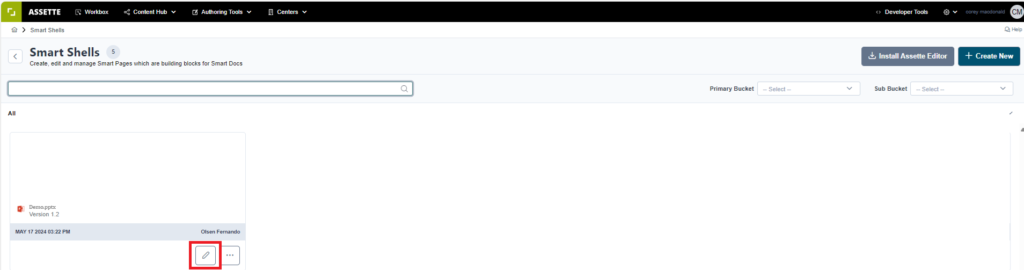
To edit a Smart Shell, head over to the Smart Shell Library, and click on the desired Smart Shell and click on pencil icon at the bottom right of the tile. Note that if the Assette PowerPoint Editor has not been installed, user needs to first install the editor by clicking on “Install Assette Editor” first. For more information on how to install the Assette Editor, see Installing the Assette PowerPoint Editor. Once installed, Assette Editor does not need to be installed a second time.
A PowerPoint should automatically open and then the user can make the same types of adjustments as when initially creating the Smart Shell, such as configuring rows, columns, or data settings for tables and charts. These changes allow for updating and refining the Smart Shell without needing to recreate it from scratch, ensuring that content remains flexible and adaptable to evolving needs.

Once the changes have been made, the user can either save the updated Smart Shell using the existing name or choose “Save As” to create a new version. After saving, the user can proceed to publish the Smart Shell. If a workflow approval is required, it will be sent for review, and once approved, the updated or newly created Smart Shell will be available for use. There is no need to re-upload the Smart Shell after saving and publishing, simply close the PowerPoint editor once finished.