This article assumes that Aprimo Data Blocks have been configured in the current tenant. For more information on setting up the Assette-Aprimo integration, please see the relevant Assette-Aprimo Integration article. Additionally, this article is intended for Developers, please see How to Insert Images Using the Assette Ribbon for the non-developer version.
Assette uses PowerPoint to create templates, leveraging the Assette Ribbon to allow seamless integration of images from Aprimo, the Digital Asset Management system, ensuring that dynamic, branded content is effortlessly incorporated into presentations while maintaining flexibility in design. When authoring within Assette, the users can use standard PowerPoint tools for editing and designing slides, customized to the Authors branding needs. A distinct advantage is the Assette Ribbon, a menu extension within PowerPoint that offers added functionalities such as editing tables or charts, inserting pre-wired smart shells (dynamically linked tables and charts), adding disclosures, and more.
Among these features, the Insert Image option enables authors to easily integrate images directly from their organization’s Digital Asset Management (DAM) system, Aprimo. Once connected with Assette, this feature allows the user to insert images in real-time from Aprimo, enhancing workflow efficiency. The images are dynamically sourced during document generation based on their unique identification through data blocks. To learn more about creating and linking data blocks, refer to the Assette-Aprimo Integration Overview article. Once the Data Blocks for Aprimo have been properly configured, the next step is to ensure that the user can properly insert the content into Assette.
How to Insert Content from Aprimo Using the Assette Ribbon #
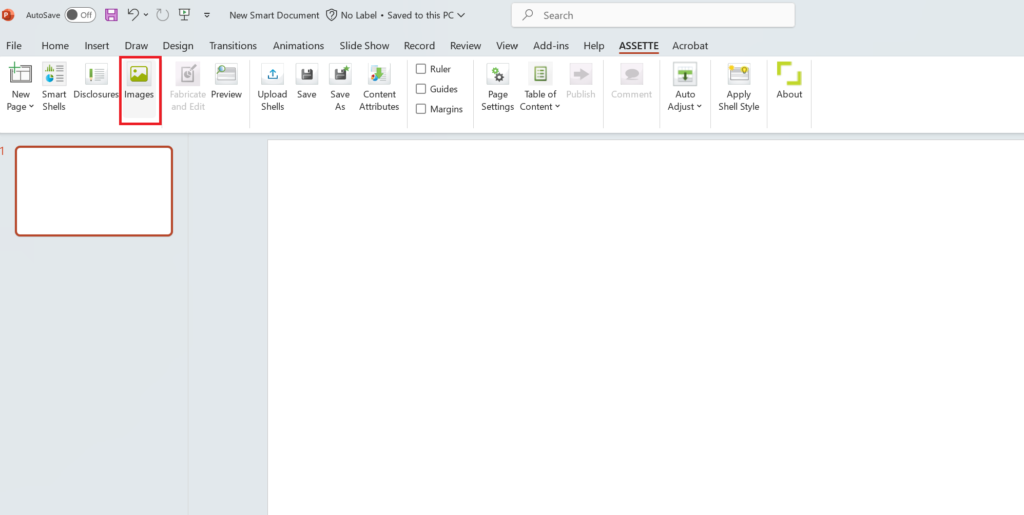
Access the Image Library via the Assette Ribbon: In the PowerPoint Assette Ribbon, select Images. This will open the image library linked to Aprimo.
Browse and Find Images: Upon opening the library, the user see a categorized view of the images available through Aprimo, based on the user’s access permissions. The categories can help the user quickly navigate to the type of image they need.
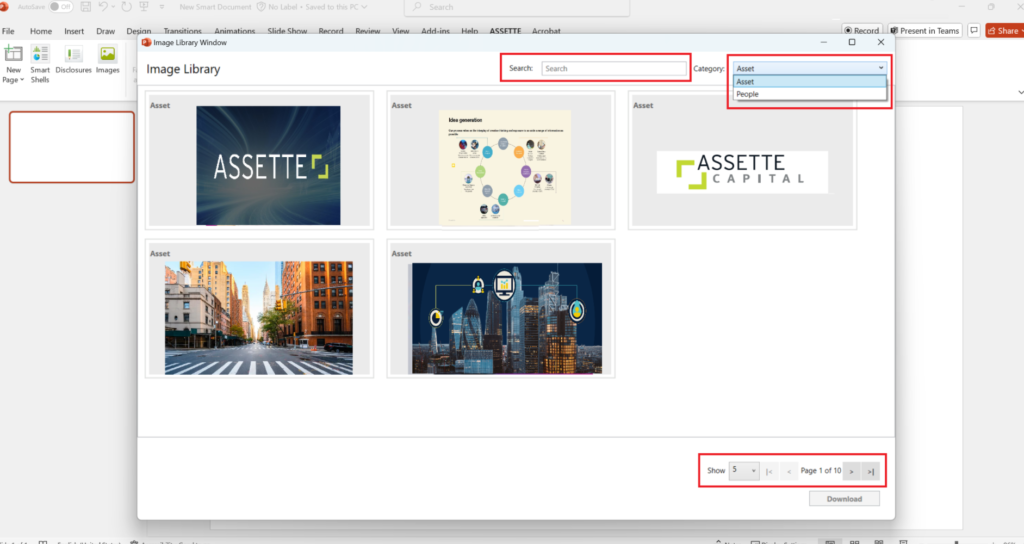
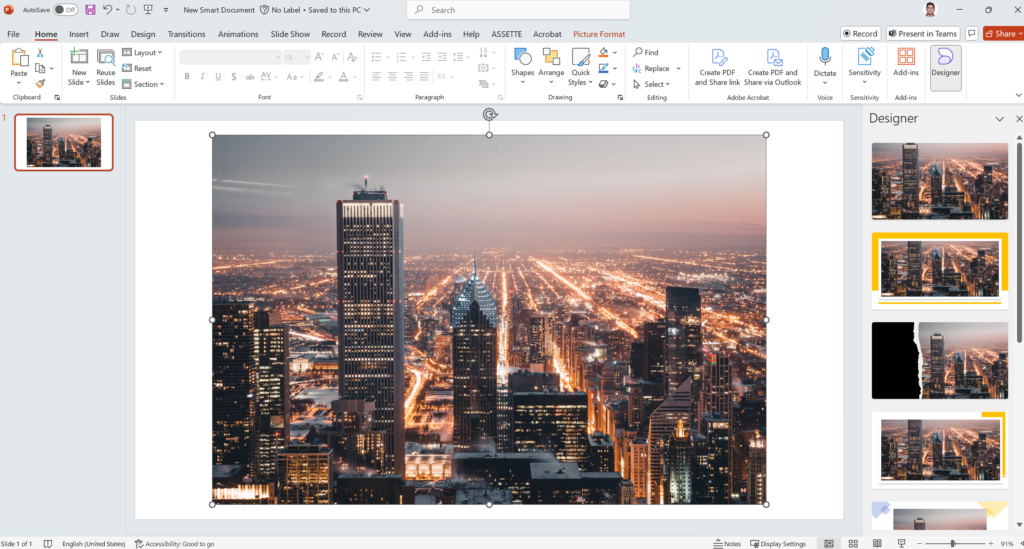
Insert the Image into the Slide: Select the desired image and click Download. The image will be inserted onto the slide as a placeholder.
Adjusting and Managing the Image:
- Utilize PowerPoint’s standard tools to resize and position the image as needed on the slide.
- Note that cropping is not available because the inserted image acts as a placeholder; during document generation, Aprimo dynamically supplies the complete image based on the predefined size.