This article discusses the process of creating and editing permission groups in the Assette Admin Center for users created via Azure Active Directory (AAD). Permission Groups (also known as “Attribute Based Permissions” should not be confused with Content Limitations.
Permission Groups, also known as Attribute Base Permission Groups, is used by Assette Admins to limit the scope of users based on Account, Product, and/or Recipients. Attribute based Permissions helps to silo users and only show the user pertinent information— be the user a Subject Matter Expert or Portfolio Manager. Within each class of Attribute Base Permissions there are several attributes which can be ascribed to each user or group of users and can be created as shown below.
When creating a Permission Group (i.e., an Attribute Based Permission), it is suggested to use the narrowest scope possible to avoid
Creating Permission Group #
After logging into Assette and navigating to the Admin Center, mouse over the “Users” option on the left-hand side and click on “Permission Groups” from the sub-menu.

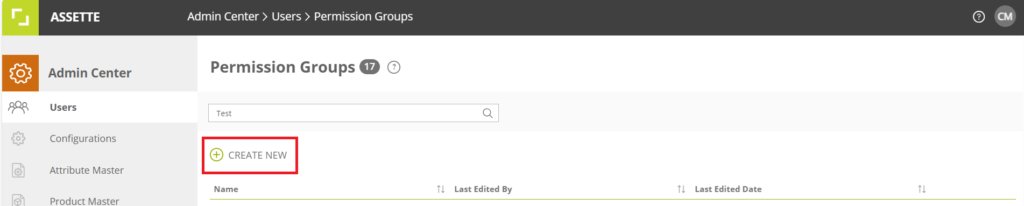
To create a new permission group, click the “Create New” button at the top of the screen. To edit a permission group, click the ellipses to the right of the Permission Group to be edited.
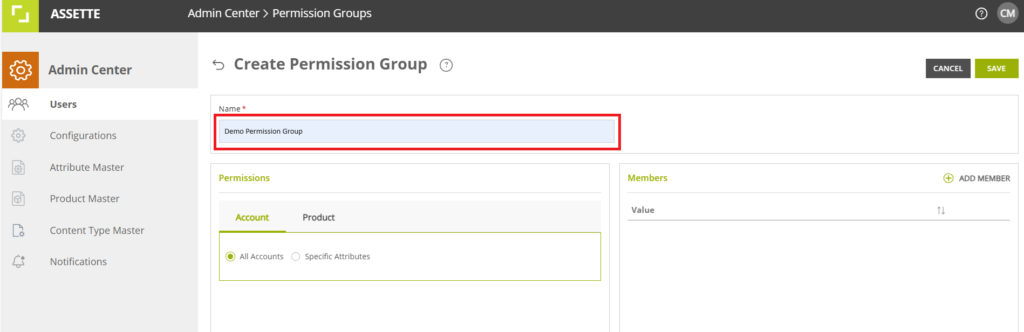
Next, assign a name to the Permission Group. The name should be both descriptive and informative. The name may contain upper- or lower-case letters, numbers, dashes and underscores.
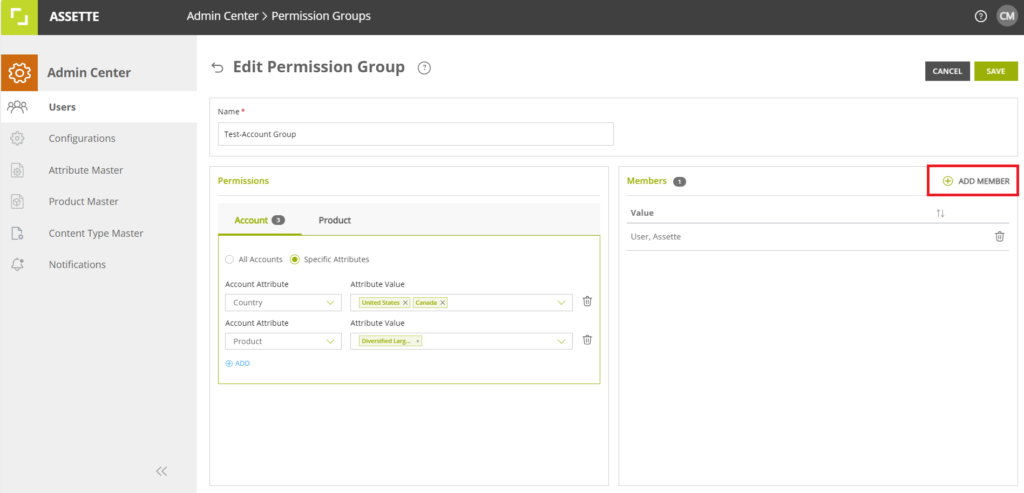
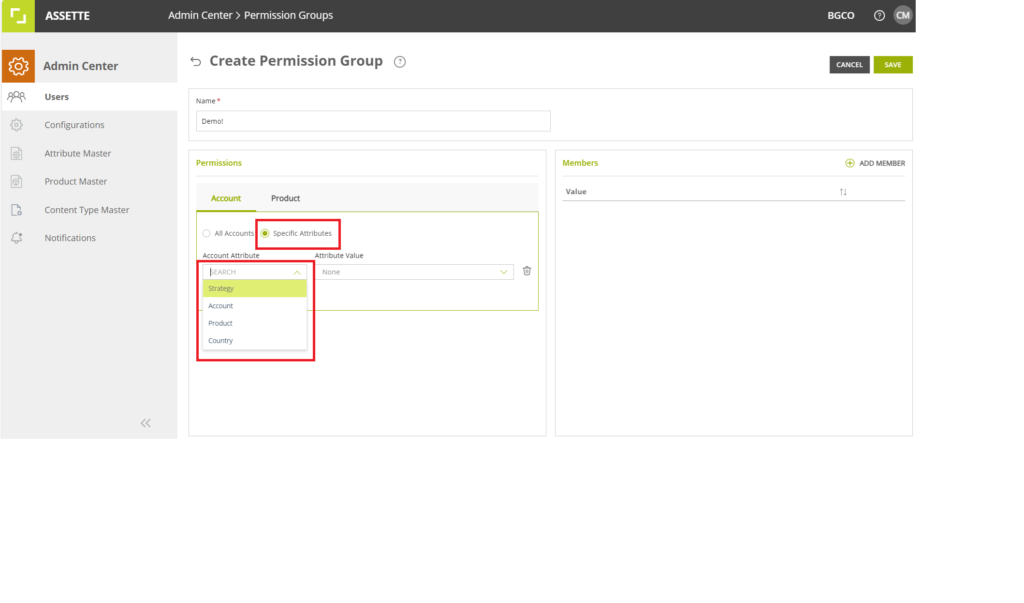
Next, select either Account or Product from the Permissions section, and select the appropriate options for the Permission Group. By default, “All Accounts” and “All Product” are both selected, meaning that if only an account attribute is selected (but not a Product attribute) that the Product sections will still be “All Products”. If an attribute has been selected, a grey oval containing the selected number attributes in each category will be displayed.
Assigning Permission Groups #
Prerequisites:
- User(s) created Azure Active Directory (AAD)
- System Admin role
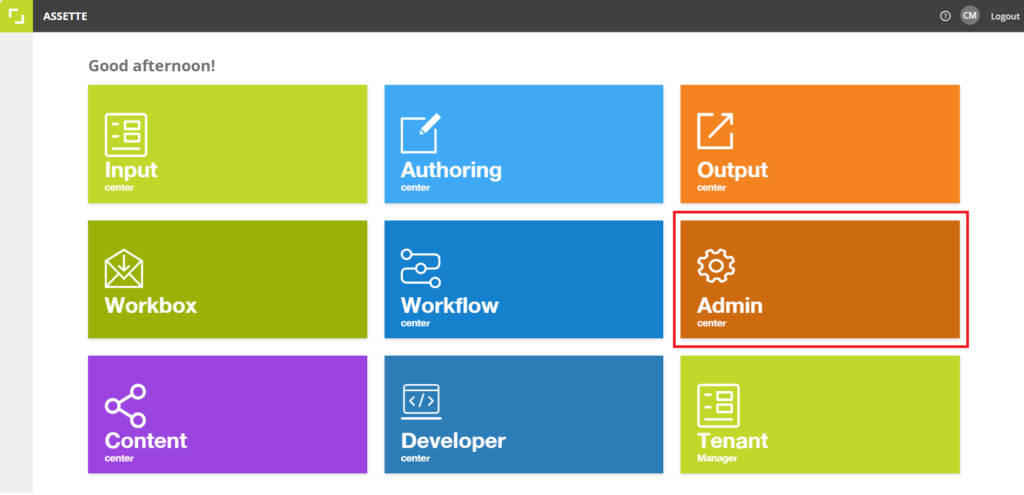
To create or edit a user in general, navigate to the Assette Admin Center. If the Admin Center is not visible, you likely do not have System Admin role assigned.
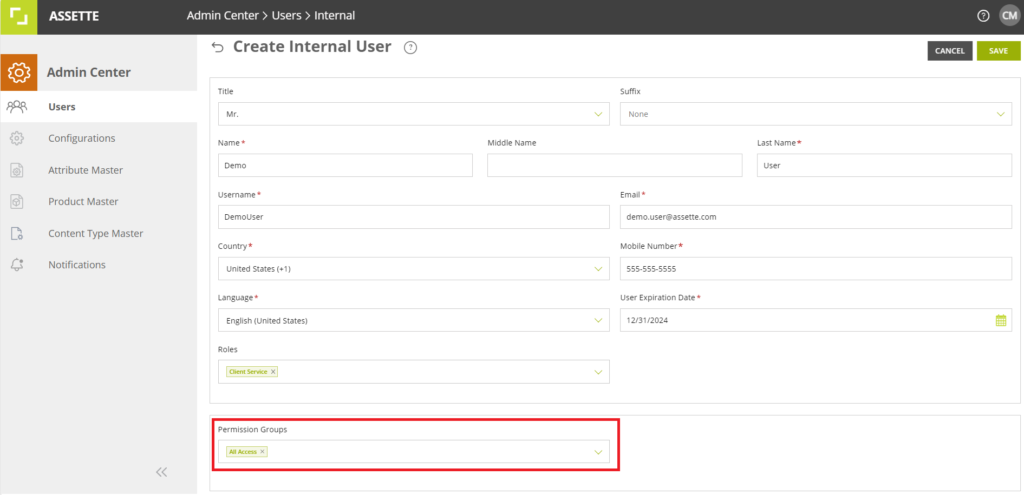
Once, in the Admin Center, click on “Users” from the side panel. If editing an existing user, click on the ellipses to the right of the user. If creating a new user, click on “Create New” button at the top of the screen. For more information on creating and editing users, see Add Assette Users With Azure AD.

Next, select the desired Permission Group from the “Permission Group” at the bottom of the screen.
Alternatively, users may be assigned to a Permission Group directly from the Permission Group screen itself by clicking on the ‘Add Membership button on the right-hand side of the screen.