This article makes reference to legacy content and may not be available for all clients. This article is no longer being updated or maintained. Please contact the Assette Client Service Team if you have any questions about this content.
1. Internal and External Users
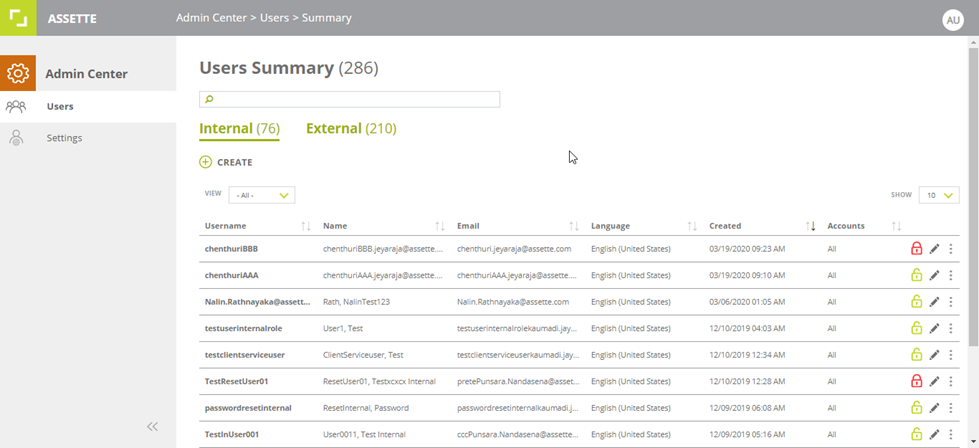
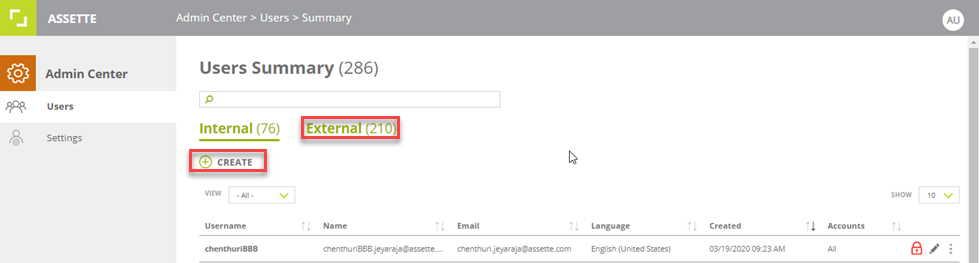
- “Internal” and “External” User types are listed under different tabs (see image below).
- You can search other users by username, name and email.
2. Create Internal User
- Select Users under the Admin Center and follow the steps below:
- Select Internal section.
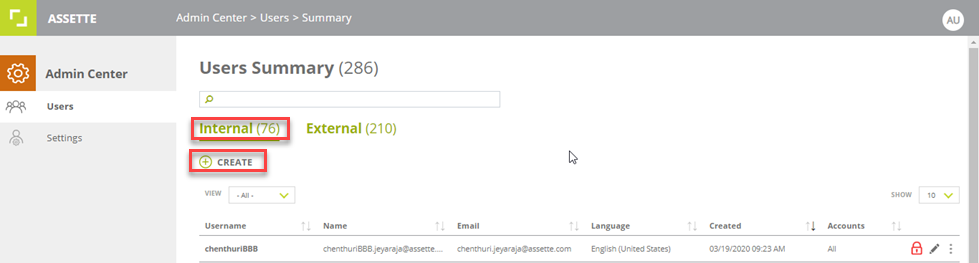
- Click on Create and fill in the new User details.
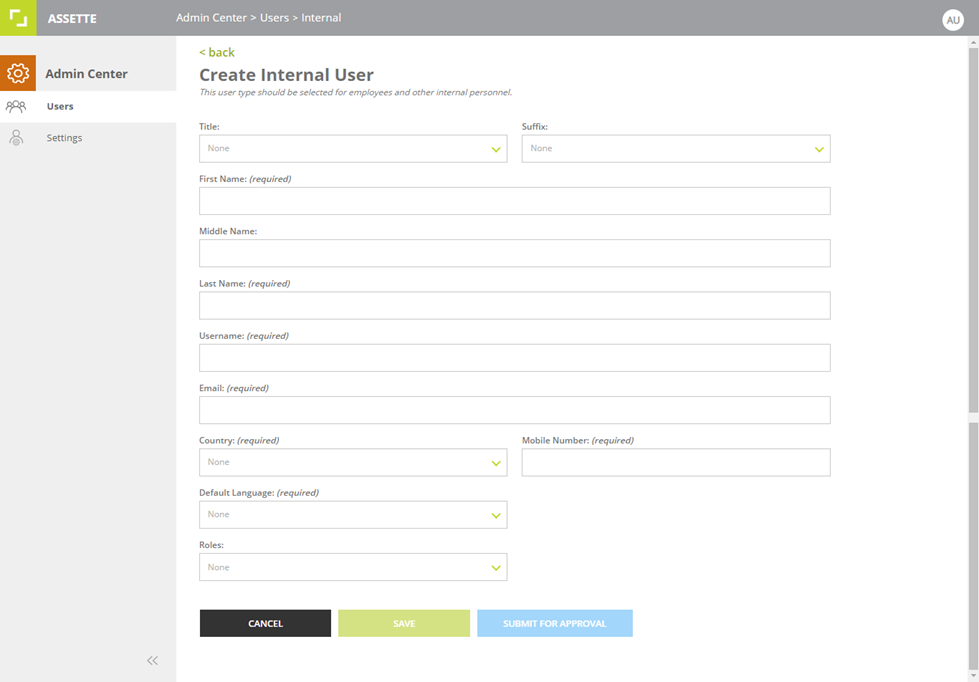
- After filling in the form, click on the Save button. A pop-up message will be displayed. Click “OK” to proceed.
- After creating an Internal User, three emails will be delivered to the registered email address.
- When logging in for the first-time using username and system-generated password, the system will navigate to the change password page.
- Instructions for the password creation will be provided (see below image).
- The new password must fulfill all 7 criteria provided below. As the new password is entered, each criterium that it satisfies will be marked with a green tick dynamically.
1. Minimum length is 8 characters.
2. Maximum length is 16 characters
3. Username and New Password must be different.
4. Include at least one letter.
5. Include at least one number.
6. Include at least one special character. (e.g. #,@,% etc.)
7. New Password and Confirm Password must be identical.

- After changing the password successfully, Users can navigate to the launcher.
3. Creating an External User
- Select Users under the Admin Center and follow the steps below:
- Select External section.
- Click on Create and fill in the new User details.

- After filling in the form and clicking on the Save button, the following pop-up message will be displayed with a message stating the User was created successfully.
- After creating an External User, three emails will be sent to the registered email address.
- Login to the client portal.
- After logging into the client portal using the credentials that were received via emails, the system will immediately navigate to the change password page.
- After changing the password, the system will navigate to the “Set Up Security Questions” page to set your security credentials.
- After answering the security questions, navigate to the login page.
- After entering User credentials and login to the client portal, the system will navigate the client to the User portal.
4. Unlock a user
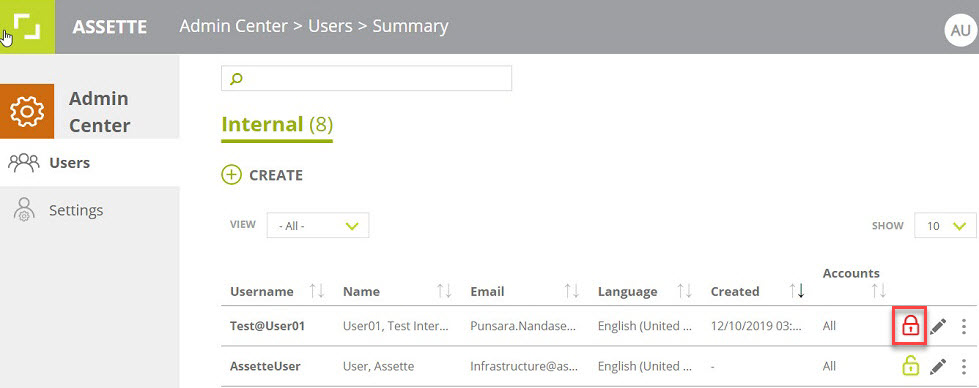
- Click on User tab to view the User list.
- Locked Users will be indicated with a red icon (see image below):
- Click on the User which has the lock icon in red to unlock.
Typically a User will get locked out when they have forgotten their password and incorrectly logged in several times.
5. How to reset a password
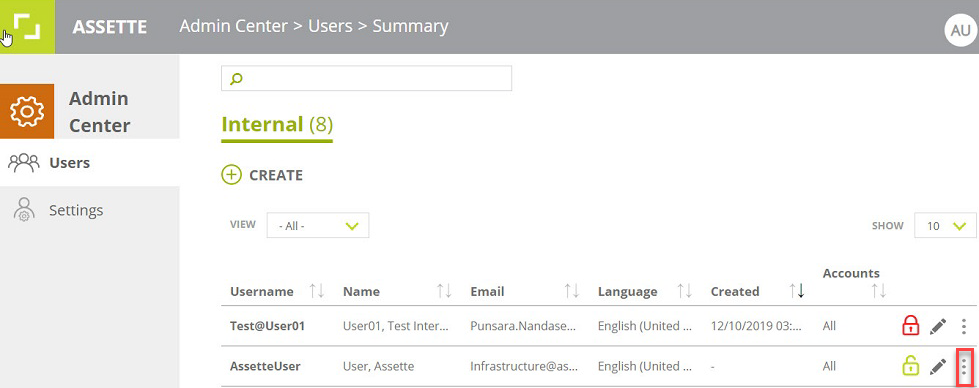
- Select the Users tab and click on the 3 dotted lines on the right of the User to reset the password (see image below):
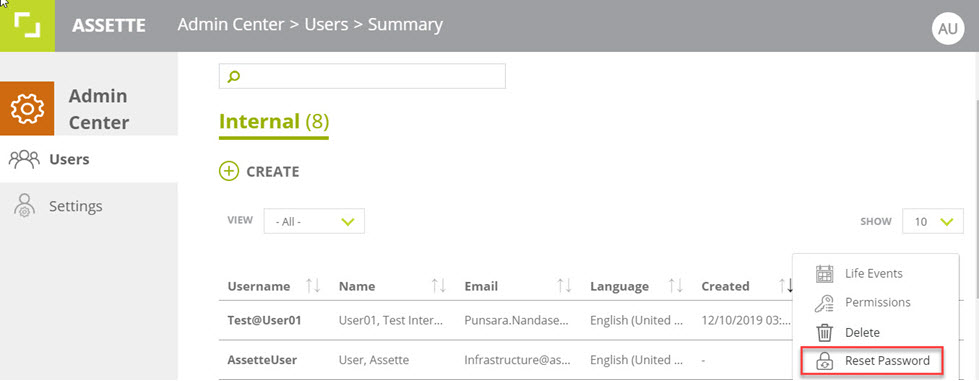
- Click on Reset Password (see image below) and the User will receive an email with temporary login instructions and will have to create a new password when they login to the system.
- The new password must fulfill all 7 criteria provided below.
1. Minimum length is 8 characters.
2. Maximum length is 16 characters
3. Username and New Password must be different.
4. Include at least one letter.
5. Include at least one number.
6. Include at least one special character. (e.g. #,@,% etc.)
7. New Password and Confirm Password must be identical.
6. Create a User Group
- Admin Center allows you to group two or more existing users into a group. This gives you the benefit of selecting a User Group as an approver from the Workflow Center rather than adding multiple users separately.
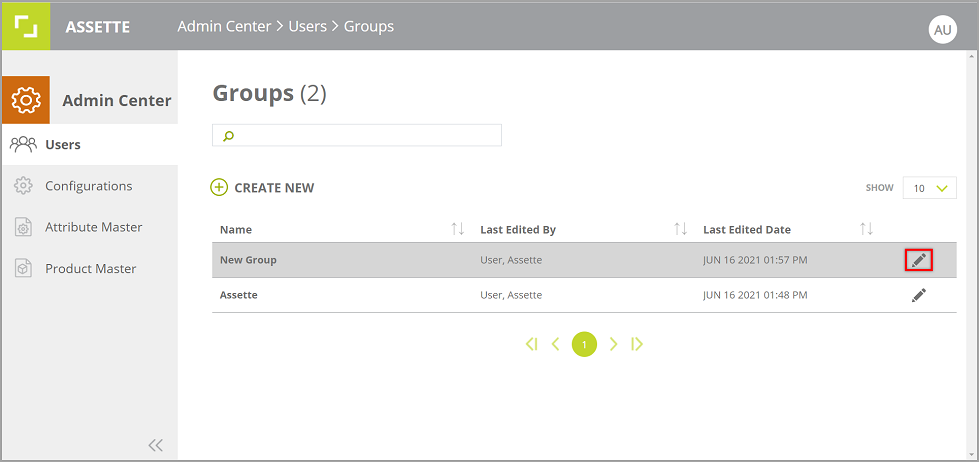
- To create a User Group go to Groups page.
- Admin Center->Users->Groups

- Then click on CREATE NEW and then enter a name for the group in the Create User Group page.
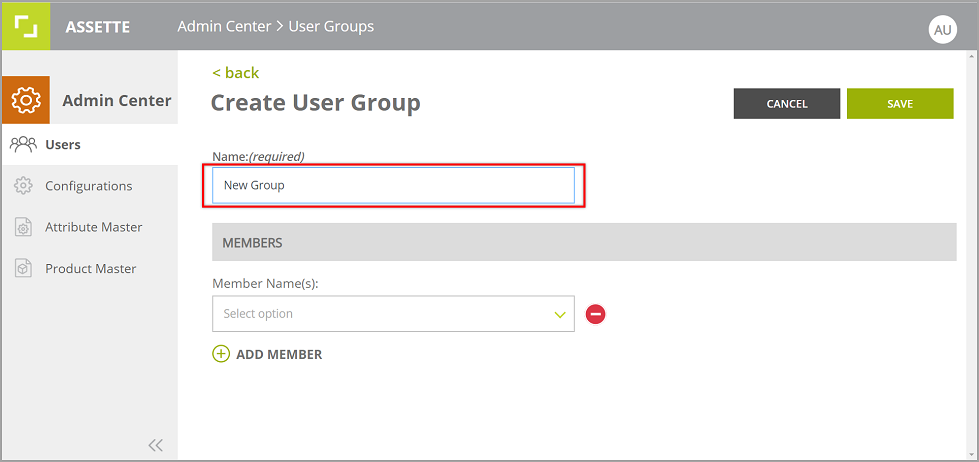
- Under MEMBERS panel, you can select a user as a member from the given drop-down menu.
Note: Only the existing Internal Users will be available to be added to a group.
- To add more members to the group, click on ADD MEMBER.
- You can remove a member by clicking on the
 icon.
icon.

- Then click SAVE to save the new User Group.
- You can click on the icon to edit the group name or its members.