Data Docs are created in the Authoring Center allow users to access the output from a Data Object generated with user data in a CSV file from the Output Center.
1. Create Data Docs
- Navigate to the Data Docs page and click on CREATE NEW.
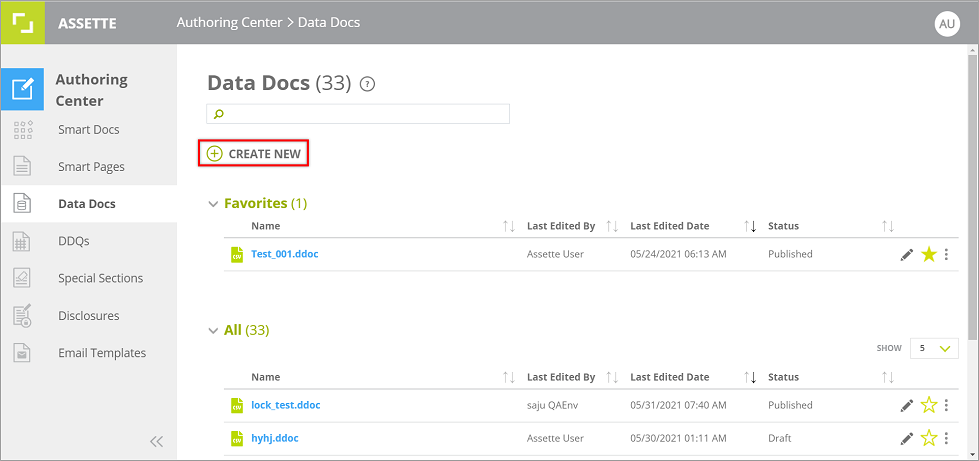
- The Data Doc Editor will be opened on a separate tab in the browser.
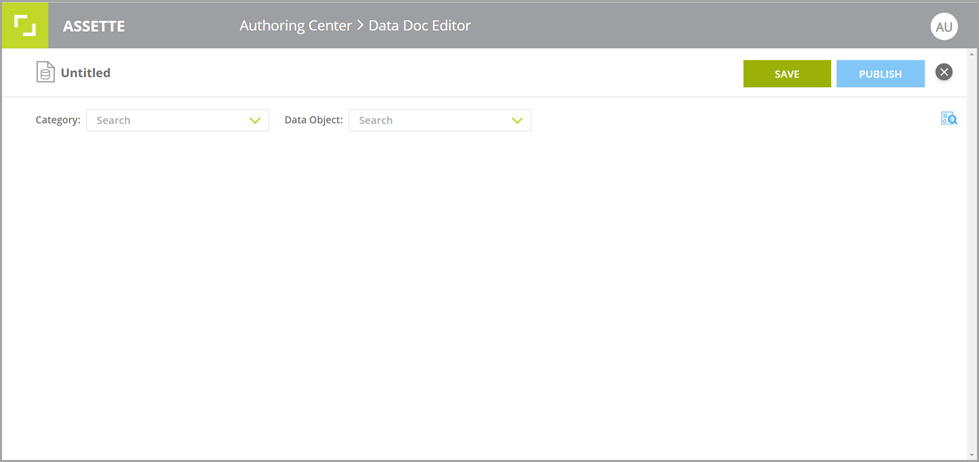
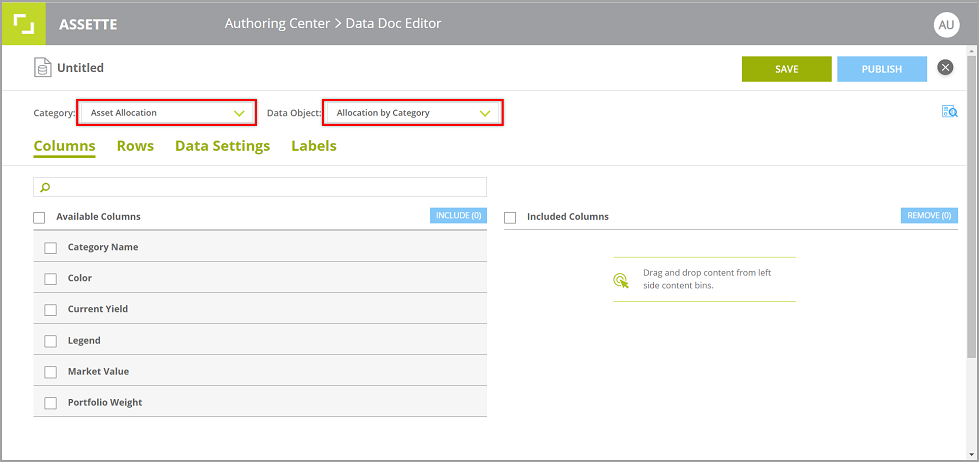
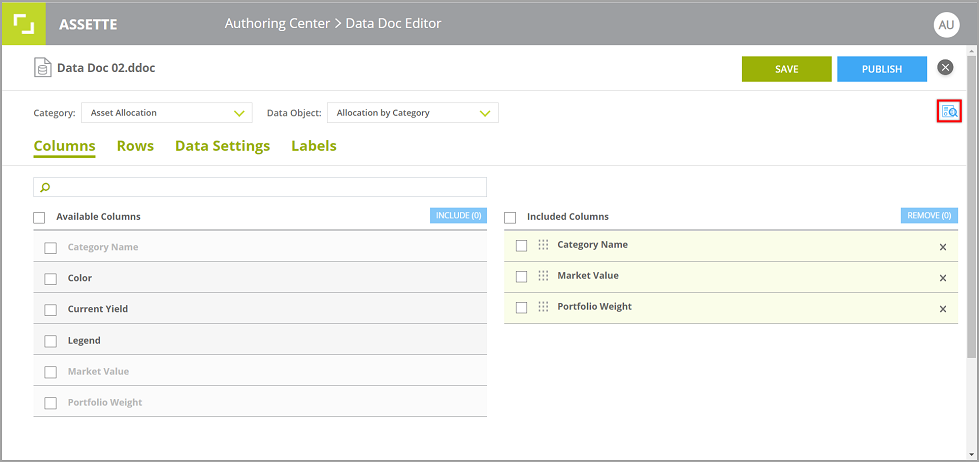
- In the Data Docs Editor, select a Category and then a Data Object of the selected category from the drop-down menus.
- The Columns, Rows and Data Settings relevant to the selected Data Object will be loaded in the window.
2. Add/Remove Columns
- Select the columns required to be included in the Data Doc by checking the boxes of the columns in the left pane under Available Columns and then click INCLUDE.
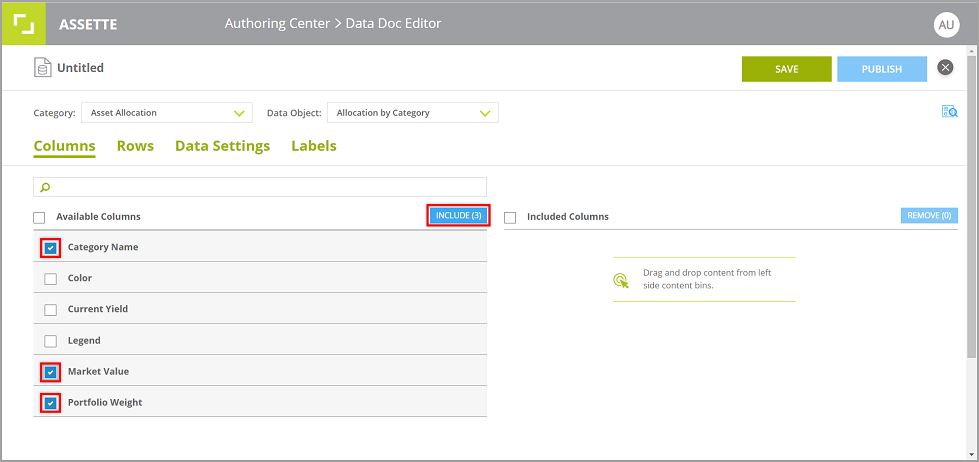
- The selected columns will then be added to the right pane under Included Columns.
- You can also simply drag a column name from the left pane and drop it into the right pane.
- To re-order the columns under Included Columns list, click on the icon by the side of the column name drag to the desired position.
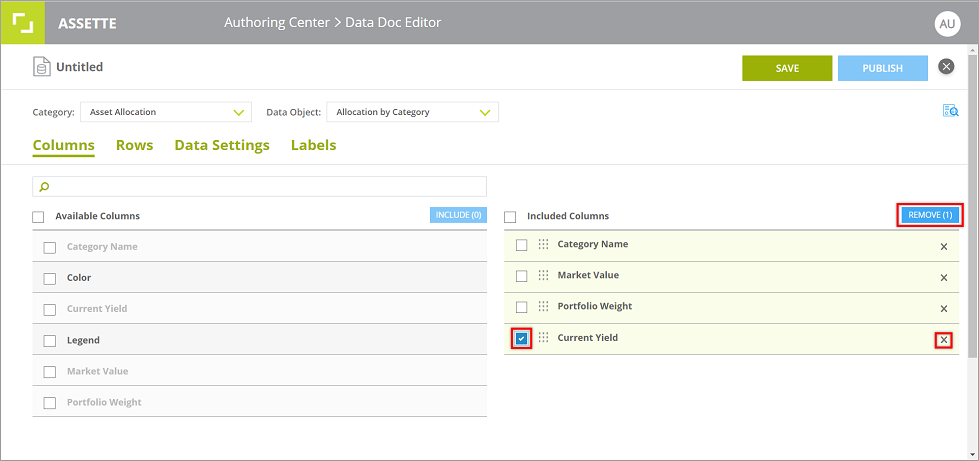
- Check the box of the column(s) and click REMOVE in the top right corner of the right pane to remove a column(s) from the Included Column list.
- You can also click on the
 icon of the item to exclude it from the list.
3. Edit Display Settings, Rows and Data Settings
Display Settings
- Click on the “Preview” icon towards the end of the included item name to open its Display Settings panel.
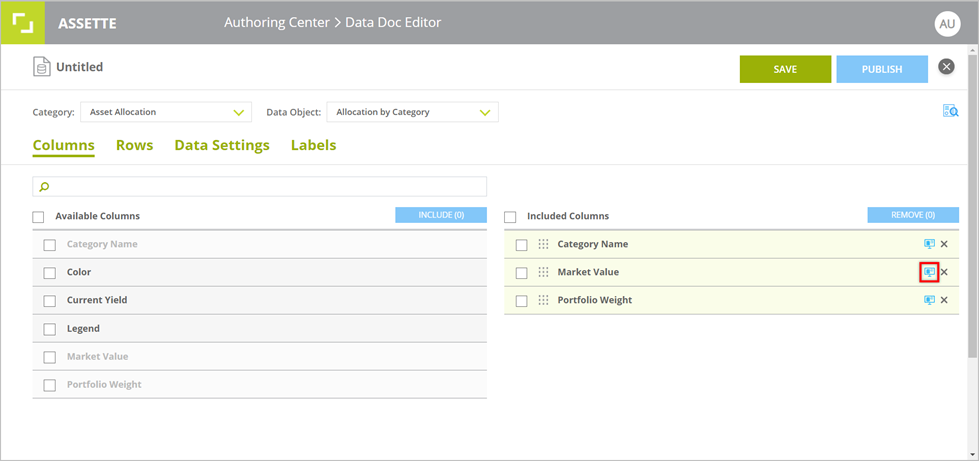
- Change the settings of the values of the particular column as required and then click COMMIT to save the changes.
- You can select a specific row to which the altered display settings should be applied to or apply to all rows from the Apply to Rows drop-down.
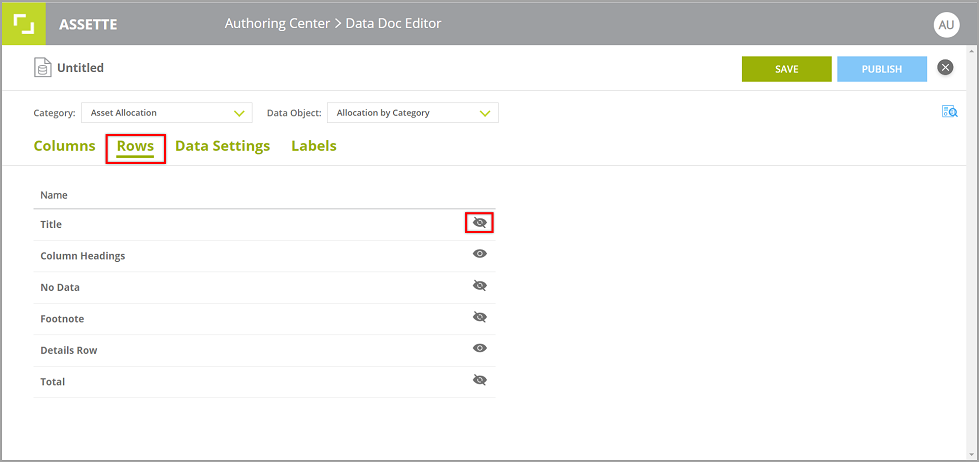
- Select the Rows tab to edit the visibility of the data rows of the selected Data Object.
- Click on the “View” icon of the row item to show or hide the row data.
Note: Column Headings and Details Row are shown by default. You can hide them if needed.
- Go to Data Settings tab and then alter the settings of the data as required to be in the output.
4. Add Labels
- You can add a label(s) to the Data Doc to include specific data in the output.
- Select the Labels tab from the top of the editing pane.
- Enter a name for the label which will be displayed in the output.
- Then, select a category and a label from the given drop-down menus.
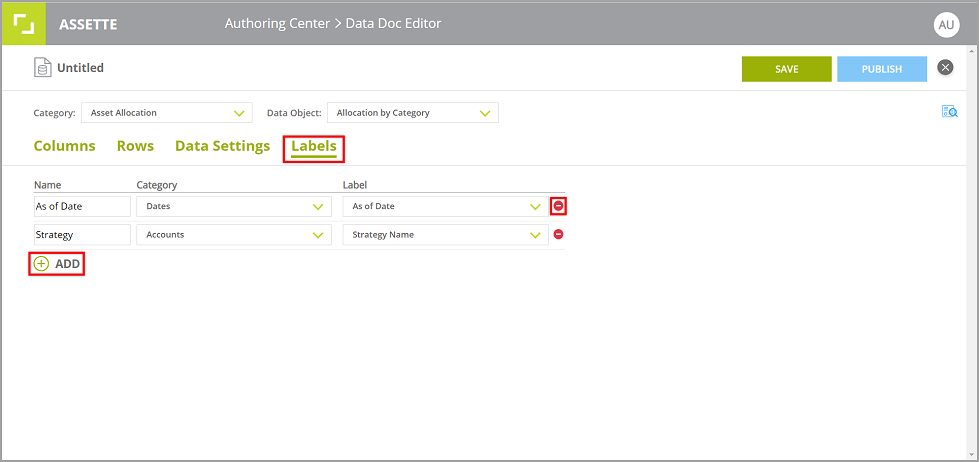
- You can add multiple labels by clicking on ADD.
- To remove an added label click on the red “Remove” icon at the end of the label item.
5. Save and Publish
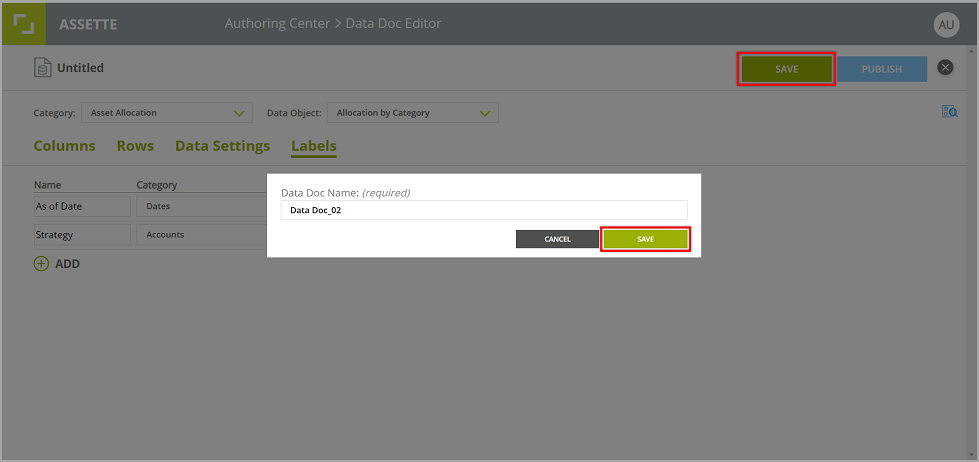
- Click on SAVE and enter a unique name for the Data Doc and then click SAVE in the prompted action box.
- The Data Doc will be saved as a Draft.
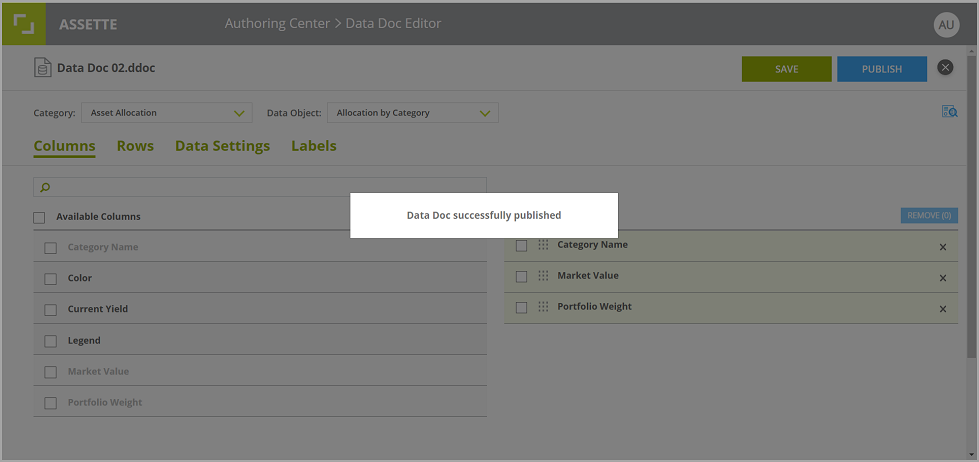
- Then click Publish to publish the saved Data Doc.
- Once published, the Data Doc will be saved as a Published Doc.
- You can close the Data Docs Editor and then go to Data Docs main page to view the saved Data Doc.
Note: Please refresh the main page to see the updated lists.

- To edit the Data Doc, click on the “Pencil” icon and you will be directed to the Data Doc Editor.
- Once edited, make sure to click SAVE and PUBLISH to save the changes.
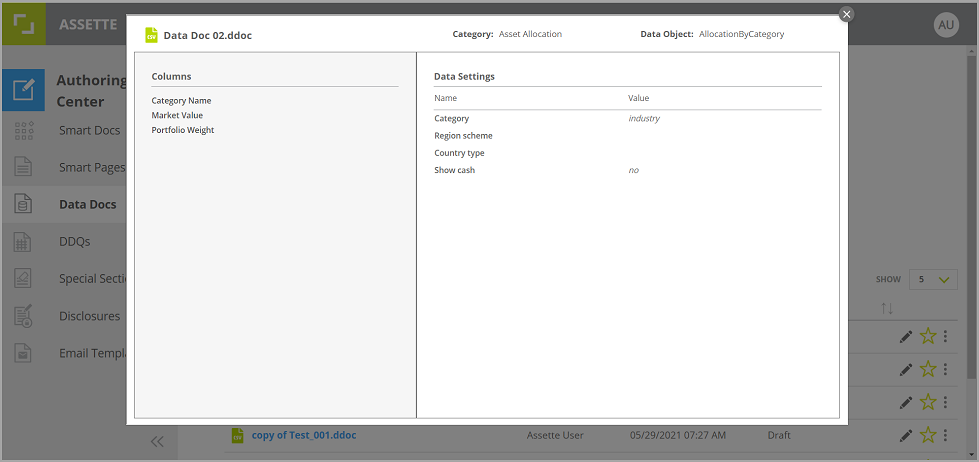
- Click on the name of the Data Doc in the list to view the Doc.
6. Preview with Data
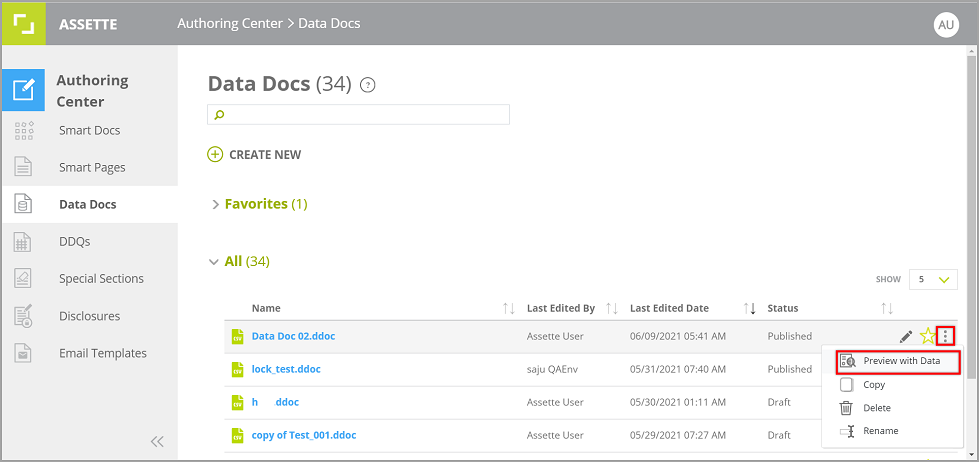
- To preview the saved Data Doc with user data, select Preview with Data from the hamburger menu of the relevant Data Doc.
- If you are in the Data Doc Editor window, click on the “Search” icon.
- When the Generation overlay is launched, add the general details, select an account(s) for which the output should be generated and click NEXT.
Note: You can have a quick view of the Data Doc template by clicking on its name in the Generation overlay.

- After the file has been generated click View. The output will be previewed on an excel panel.
- Click on the “X” icon to close the preview panel.