This article details the steps required to create a Workflow from start to finish. For a high-level overview of Workflows, see Workflows Basics.
Requirements
- User has the Workflow Admin role assigned to their account.
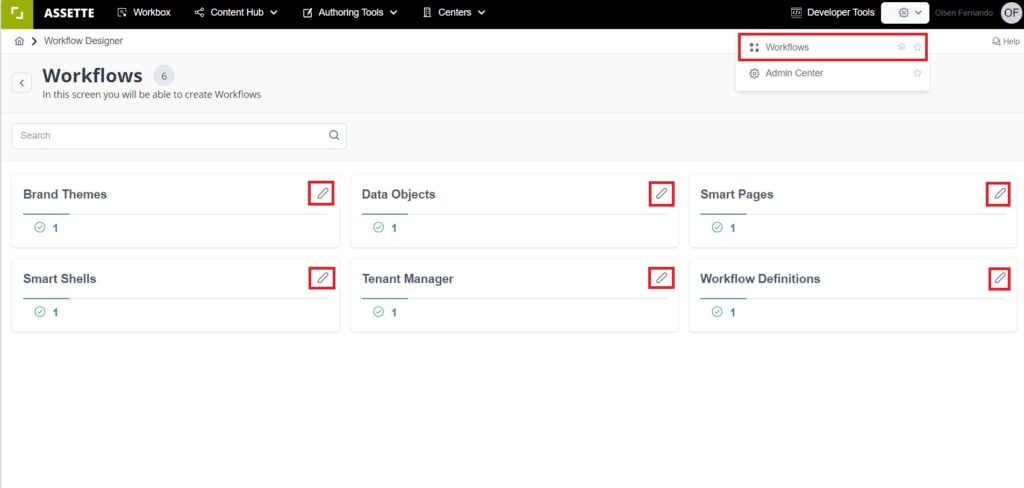
To begin creating a workflow, navigate to the Workflows section from the Assette launcher. Once there, select the desired Workflow Category. It’s important to note that only one workflow can exist for each category, so you will need to click the Edit option to create or modify the workflow for that category.
After selecting the category and clicking edit, you will be directed to the workflow editor interface. Here, you have the option to add new steps or to save and publish the workflow. To create the first step, click on the Add New Step button. This action will open a Workflow Step Popup window where you can define the details of the workflow step.
The first field in the popup asks for the Name of the workflow step. This name is mandatory and should be descriptive, such as “Default Smart Page Workflow” or something more specific that reflects the context of the workflow. Providing a clear name helps all users understand the purpose of the step. Although optional, adding a Description can offer additional clarity and is recommended for complex workflows.
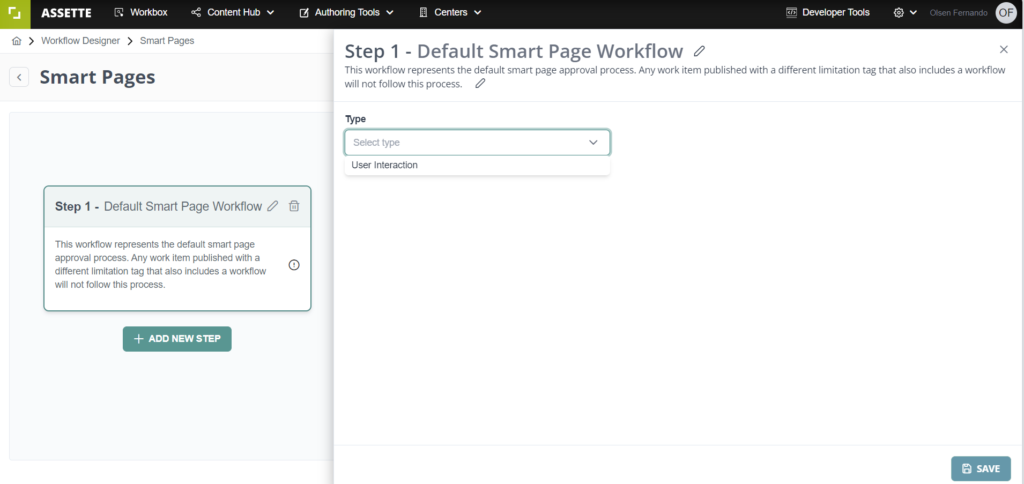
Next, you need to select the Type of the workflow step. For a single-step workflow, the appropriate type is User Interaction, which indicates that the step requires input or action from a user.
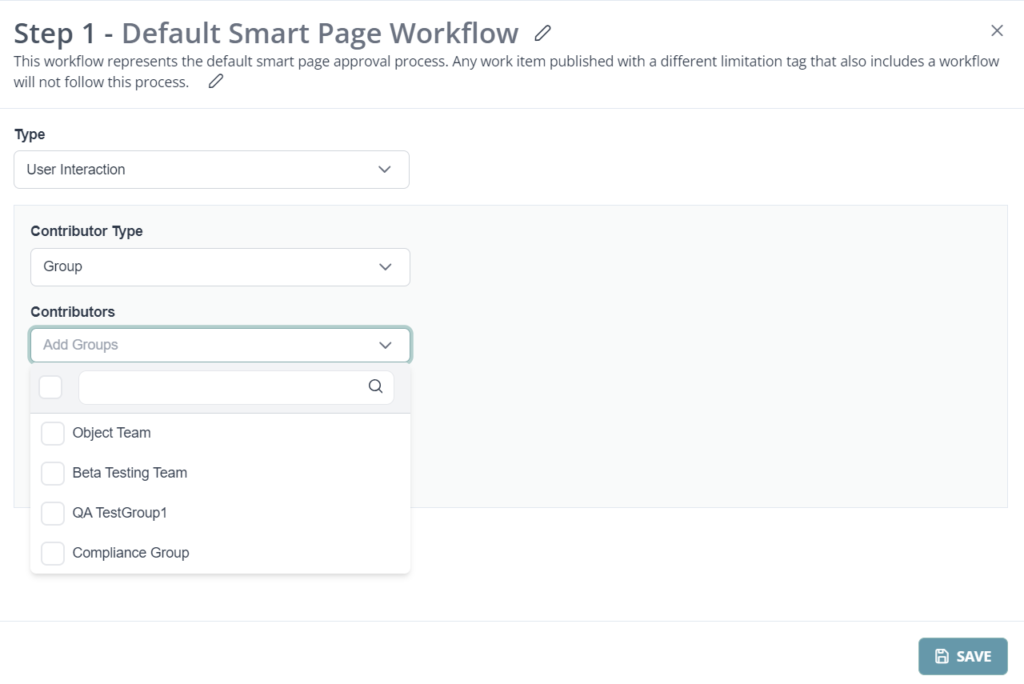
- User: If you choose this option, you will need to manually add each individual person who should participate in the approval process. This is suitable when specific individuals are responsible for approvals.
- Group: Selecting this option allows you to choose from predefined groups created in the Admin Center. All members of the selected group will be included in the workflow step. This is efficient when approvals can be handled by any member of a team.
After configuring the contribution type, you will encounter the Exclude Initiator option. This setting is crucial for maintaining objectivity in the approval process. By enabling Exclude Initiator, you ensure that the person who initiated the workflow (the creator or publisher) is excluded from approving their own submission. This prevents potential conflicts of interest and promotes fairness.
It’s highly recommended to enable the Pick Me option as well. This feature allows approvers to claim the work item for themselves, effectively locking it so that no one else can work on it simultaneously. Enabling Pick Me helps avoid duplication of effort and ensures accountability by designating a single individual responsible for the review at any given time.


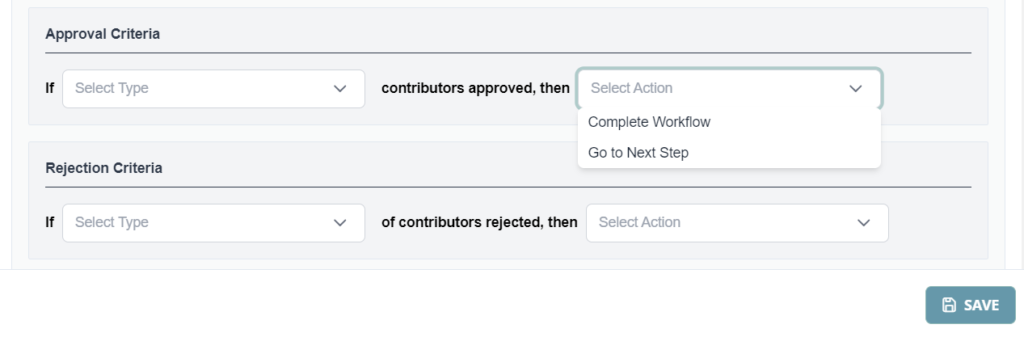
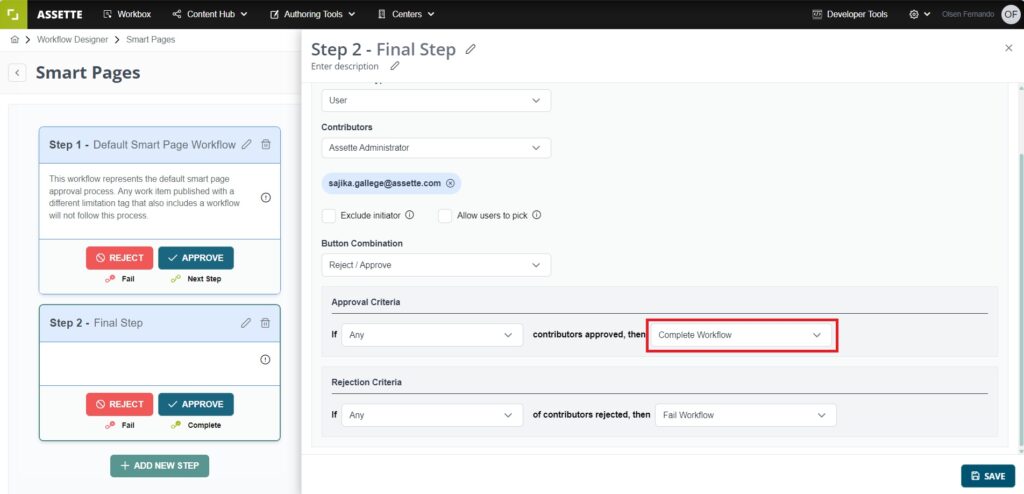
The next step involves configuring the Button Combination, which sets the available actions for the approvers, such as Approve and Reject. Once you have selected the appropriate buttons, the Approval and Rejection Criteria fields will appear. In these fields, you can define the conditions that determine what happens when the item is approved or rejected. For example, you can specify that upon approval, the workflow moves to the next step, or upon rejection, the item exits the workflow. These criteria are essential for controlling the flow of the workflow based on the decisions made by approvers.

After you have defined all the necessary details and conditions for the workflow step, click Save to store the step within the workflow. Once all steps have been added and configured according to your requirements, you can finalize and activate the workflow by clicking Save and Publish. This action makes the workflow operational and available for use within the specified category.

After creating the first step in your workflow, users have the option to add more steps to build a multi-step approval process. To do this, users can continue by adding additional steps using the Add New Step button within the Workflow Editor. Each step in the multi-step workflow can be customized with its own set of conditions, approvers, and actions. The key feature of multi-step workflows is the ability to configure the steps so that instead of publishing the item or completing the workflow after the first step is approved, the workflow moves to the next step for further review. This ensures that content goes through all necessary approval stages before being finalized.

The process continues with each step, and only the final step of the workflow will trigger the publishing or completion of the process. This ensures that every step in the workflow has been properly reviewed and approved before the item goes live.
Once all the steps are configured and the workflow structure is complete, users should Save and Publish the workflow to activate it.