This article references Data Objects and assumes that an “As of Date” Data Object has already been created. Depending on the Data Object users may slight variations, including but not limited to: differences in behaviors and Data Settings.
In this article, we’ll walk through the process of creating “As of Date” Smart Shell for your Smart Page. Creating an “As of Date” Smart Shell allows end users to dynamically display dates in the desired format, ensuring consistency and clarity in presentations.
Start by inserting a text box into the desired location. Assign it an appropriate name, such as “Date” or “Period,” to make it easily identifiable during the editing process.
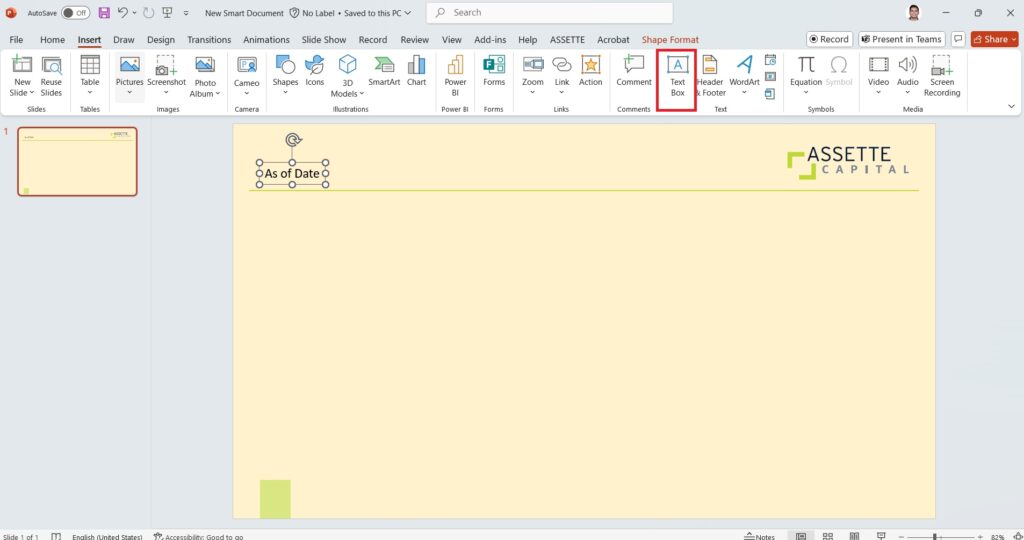
Once the text box is inserted, select “Fabricate and Edit” from the Assette Menu. This action will open the Smart Editor on the right-hand side, where customization can be done.

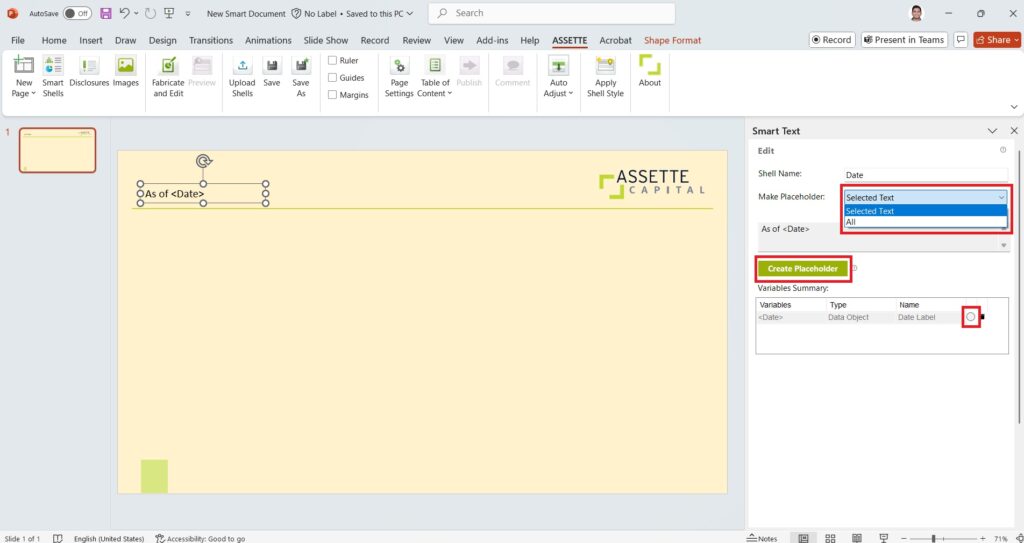
In the Smart Text Editor, highlight the specific portion of the text to be linked to a data object and click ‘Create Placeholder,’ or select the entire text box to wire it as a whole. This approach provides flexibility, allowing users to apply dynamic updates only where needed. Then, navigate to the “Variable Summary” section in the editor and use the circular selector button to connect the text to the appropriate data object.
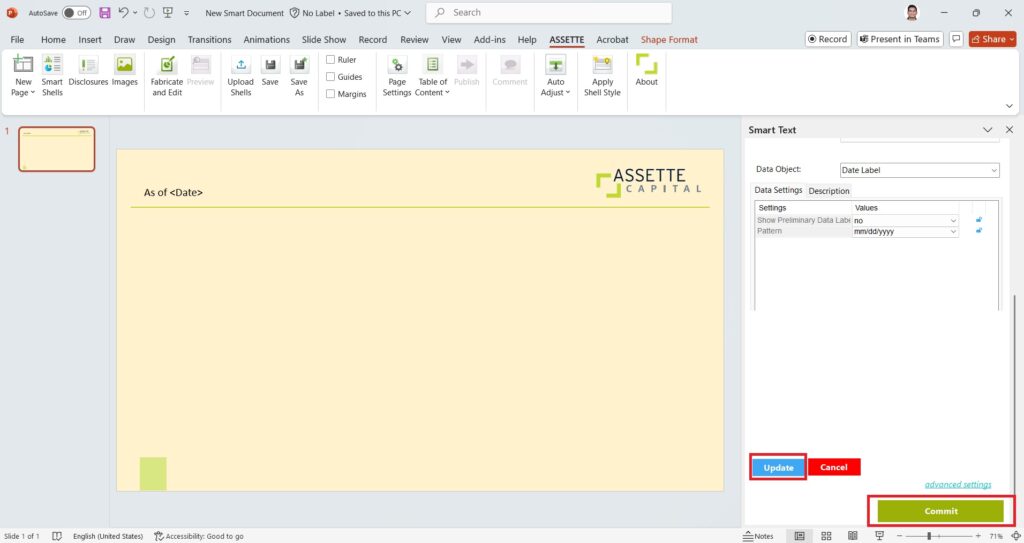
After selecting the data object, configure the desired date format in the “Data settings” section. This ensures that the text box displays dates in a format such as MM/DD/YYYY, DD/MM/YYYY, or any other preferred style.
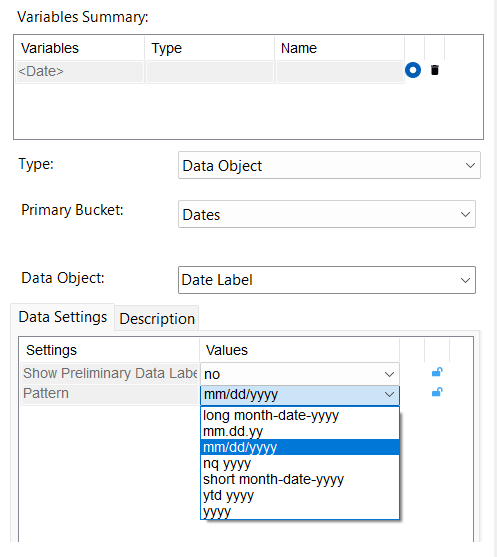
Once the Data Object and format are selected, review the settings to ensure accuracy. Click on ‘Update’ and then commit the changes to finalize the date label setup.
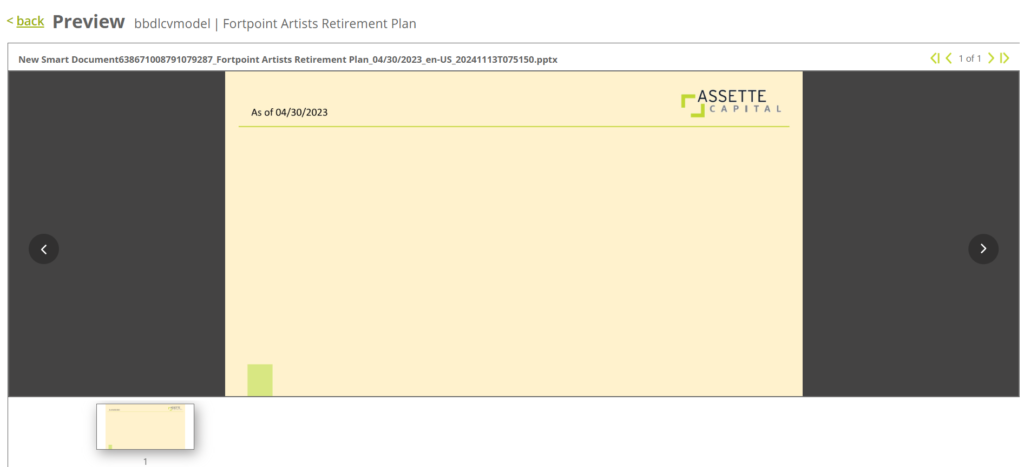
When previewing the label, it will display the dynamically generated date values based on the selected data object and format settings.