Using Compliance Tags are not mandatory but are a valuable tool for organizations with regulatory or compliance needs.
Compliance tags in Assette allow users to label content with mandatory and optional compliance classifications. These tags ensure proper tracking and approval of content, maintaining compliance with organizational standards and regulatory requirements.
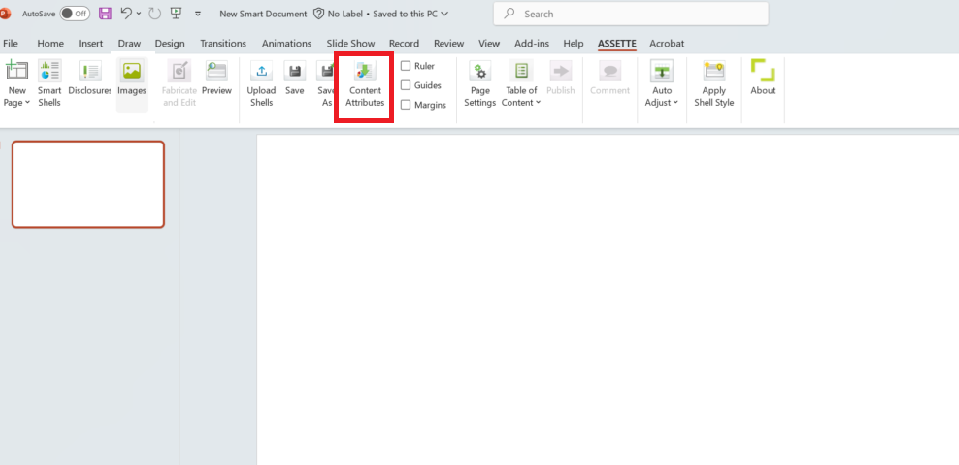
When creating a Smart Pages, users can assign compliance tags after saving the document. Navigate to the Assette ribbon in PowerPoint and select Content Classification. Here, users can set mandatory compliance tags as required.
While creating a Smart Doc, users can assign compliance tags after saving the document. Navigate to the right top corner of the screen and select Content Classification.

Alternatively, compliance tags can be assigned directly from the Assette UI. Click on the Advanced Options (three dots) for the content and choose Content Classification. This option allows users to classify content with the appropriate mandatory and optional compliance tags.

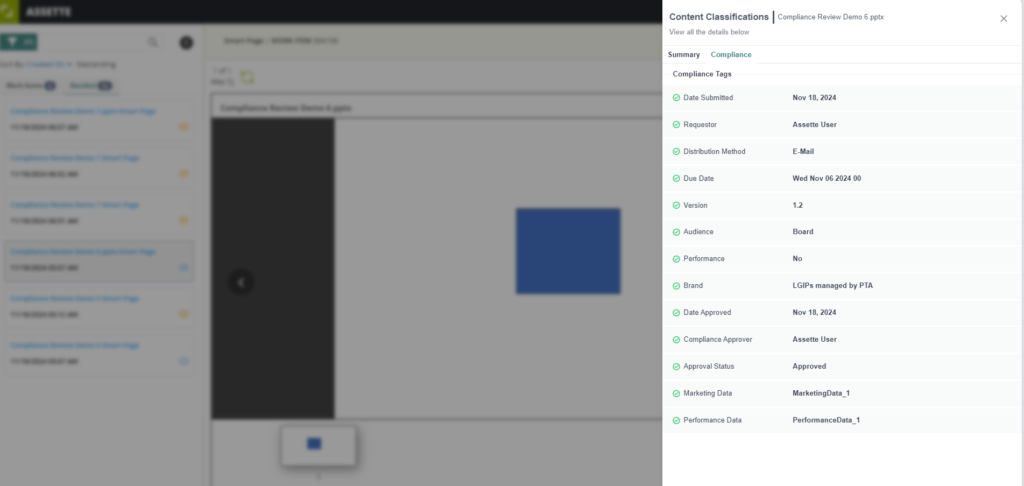
In addition to user-assigned compliance tags, there are system-generated, read-only fields displayed in the Content Classification popup. These include:
- Date
- Version
- Requester
- Other relevant metadata
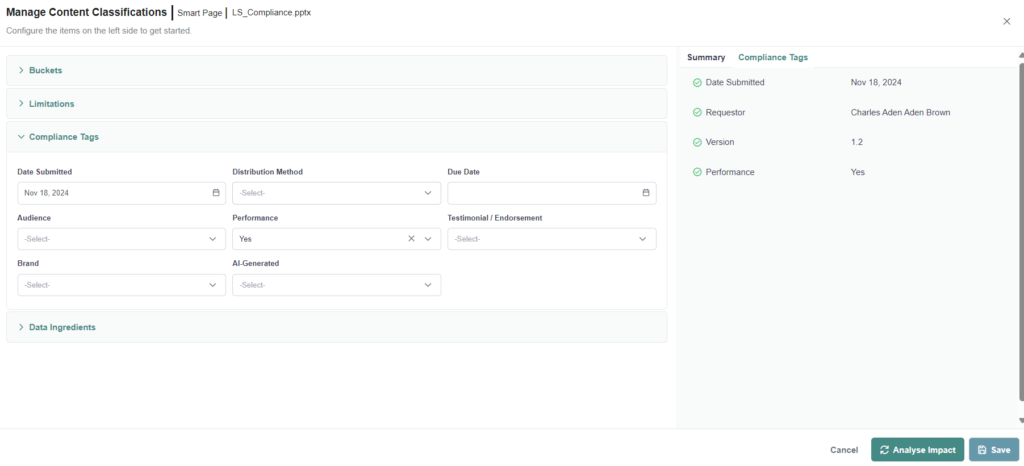
These fields provide additional context for the content and are automatically updated by the system.
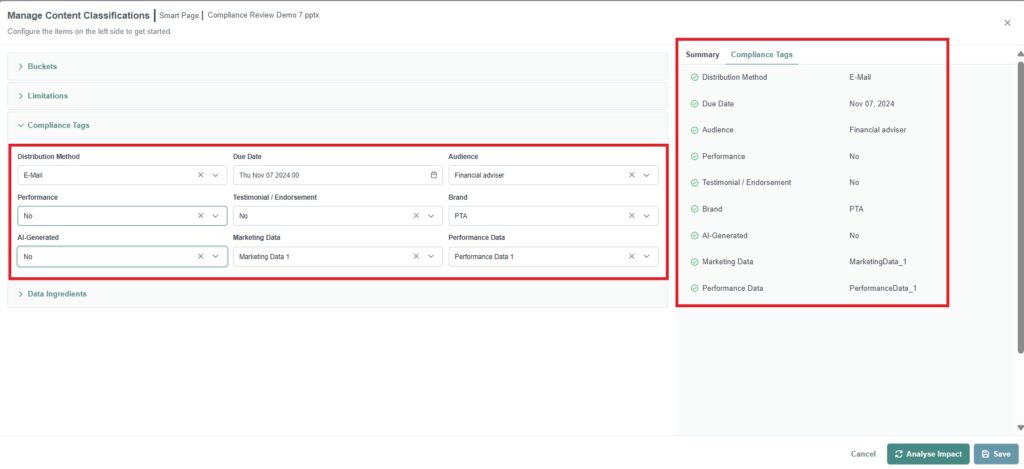
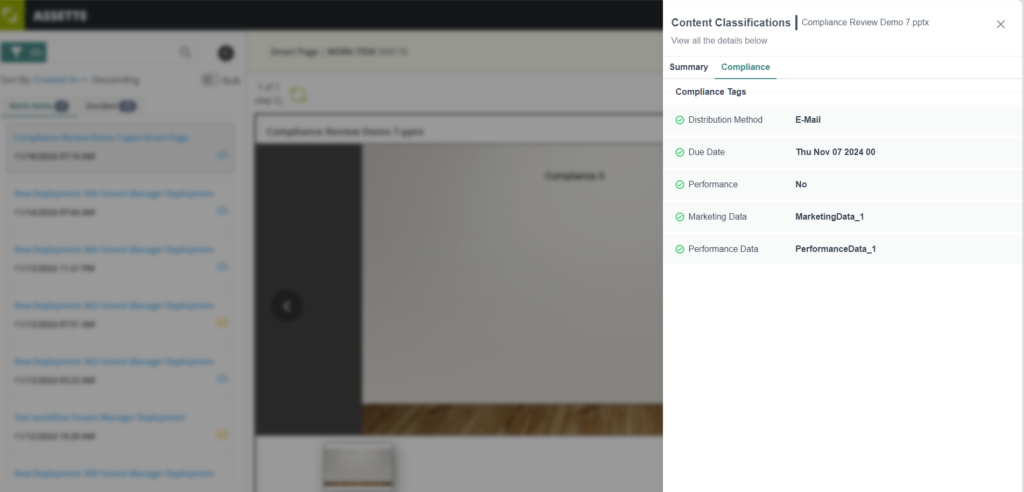
Publishing and Approval: Compliance tags serve as labels when content is published and sent for approval. Before saving the compliance tags, users must first select Analyze Impact and then save. This step checks for issues in the limitations classifications, which are unrelated to compliance. For more information on limitations, refer to Content Limitations. Content can only be published once the mandatory tags are assigned. If mandatory tags are missing, a popup will prompt the user to tag them before proceeding. The tags can be viewed in the Content Classification popup, showing both mandatory tags and system-generated metadata.
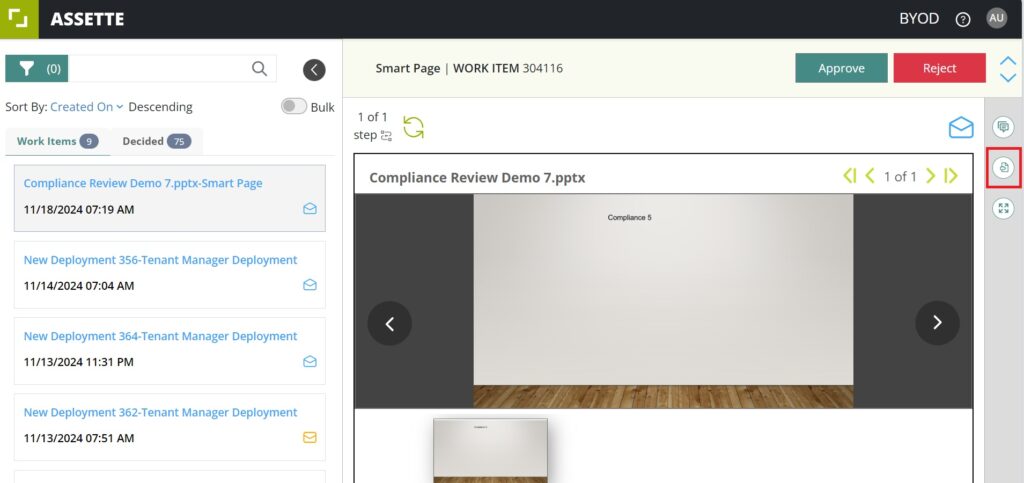
Approver View: Approvers in the compliance group can view compliance information from the Workbox. By clicking on the Content Classification button on the right side of the Workbox screen, they can access the metadata.
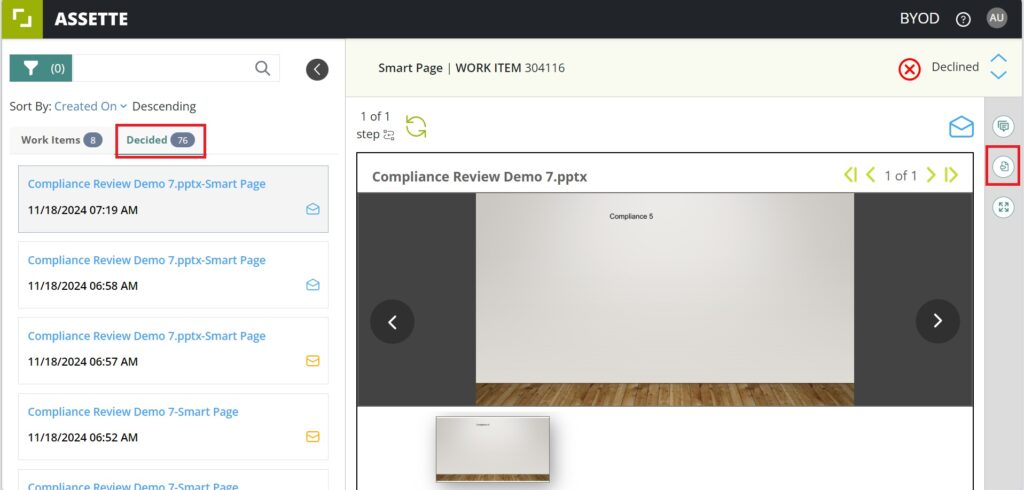
Post-Approval Access: Once the content is approved or rejected, the compliance information remains accessible in the Decided Tab of the Workbox and in the Smart Page UI under the Content Classification popup.
Setting Up Compliance Team #
Compliance team members are essential for managing approval workflows and ensuring metadata accuracy.
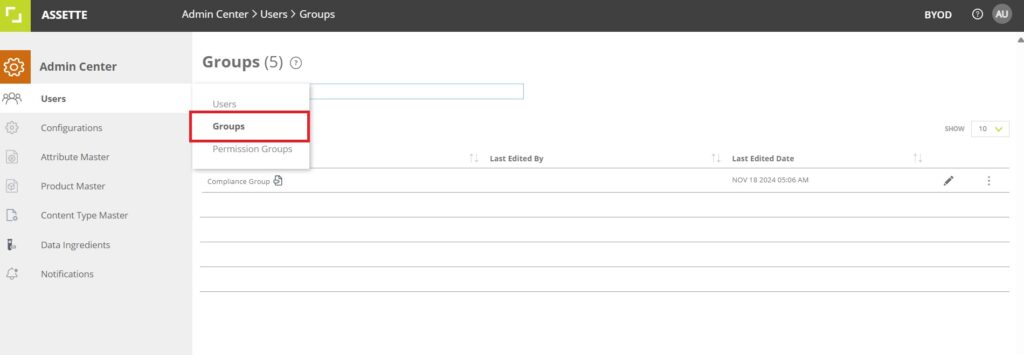
Navigate to the Admin Center and select the Groups option under User Management.
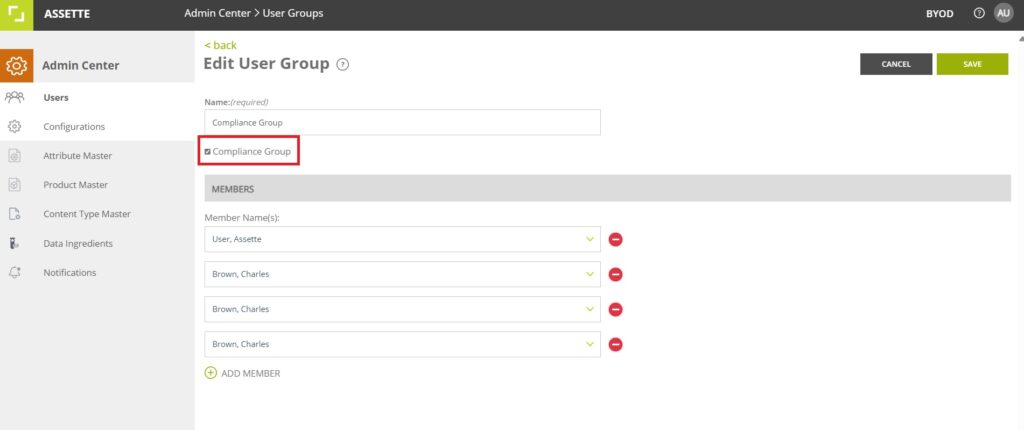
Create a new group or edit an existing one.

When creating a new group and mark it as a compliance group. This step is mandatory; if not marked, approver metadata will not appear in the read-only fields.
Creating Compliance Tags #
Compliance tags are essential for classifying content and ensuring compliance with organizational standards. These tags can be fully customized within the Admin Center, allowing users to define specific classifications tailored to their unique compliance needs.
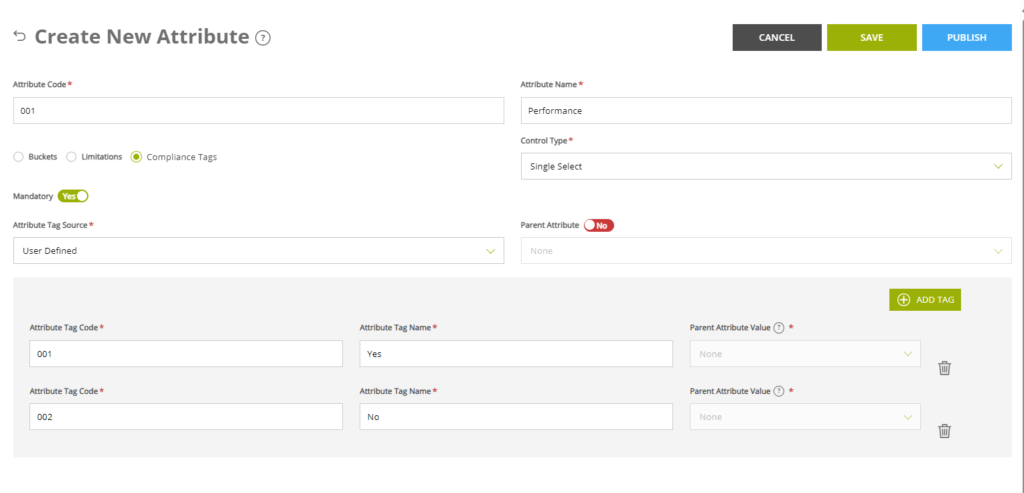
Go to Attribute Master and select Create New.
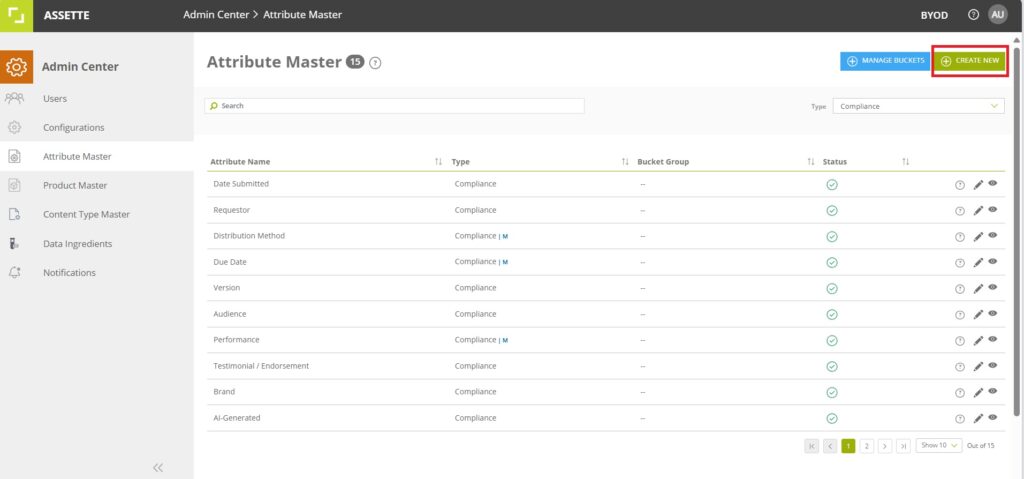
Users can assign a unique Attribute Code and Attribute Name, select the Control Type as Single Select, and categorize it specifically as a Compliance Tag. The Mandatory toggle determines whether the tag is required. The Attribute Tag Source defines the source type, such as User Defined. In the Tags section, users can define specific tag options with unique codes and descriptive names (e.g., Yes, No). Additional tags can be added using the Add Tag button or removed using the delete icon. After configuration, the compliance tag can be saved as a draft or published using the respective buttons.