Assette’s Brand Themes are created within the Brand Theme function, accessible from the navigation panel on the left side of the interface. This feature allows users to establish a consistent brand style for the documents they create before generating individual Smart Pages. Brand Themes enable users to define elements like logo placement, cover and back page layouts, and document design, all through editing the PowerPoint master slide. By working within the Master Slide, users can control the overall layout and design, specifying what elements should be included, such as specific layouts or branding components.
Once the master slide is closed, users can return to the normal slide view to handle shell styling. For more information on shell styling, users can refer to the appropriate section (link to shell styling guide).
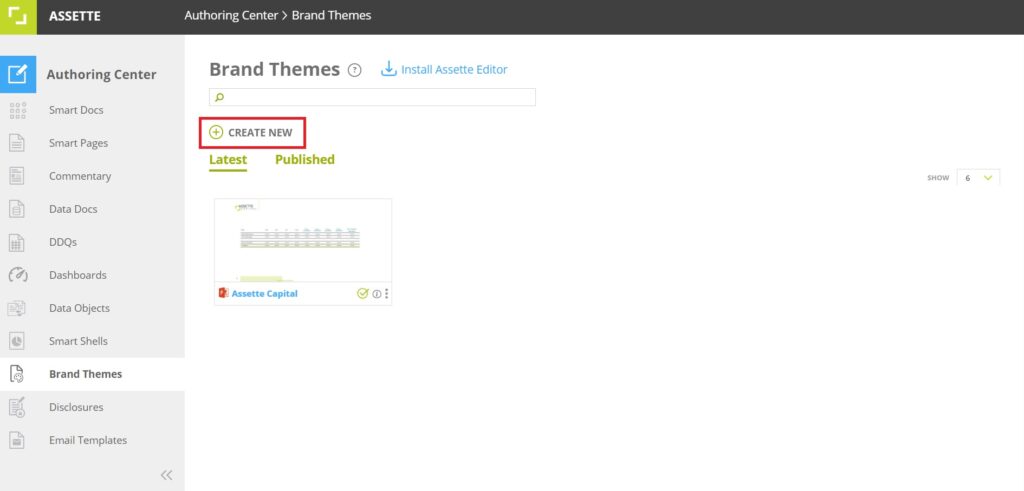
Creating a New Brand Theme #
To create a new Brand Theme, users can navigate to the Brand Themes from the Authoring Center and select Create New.
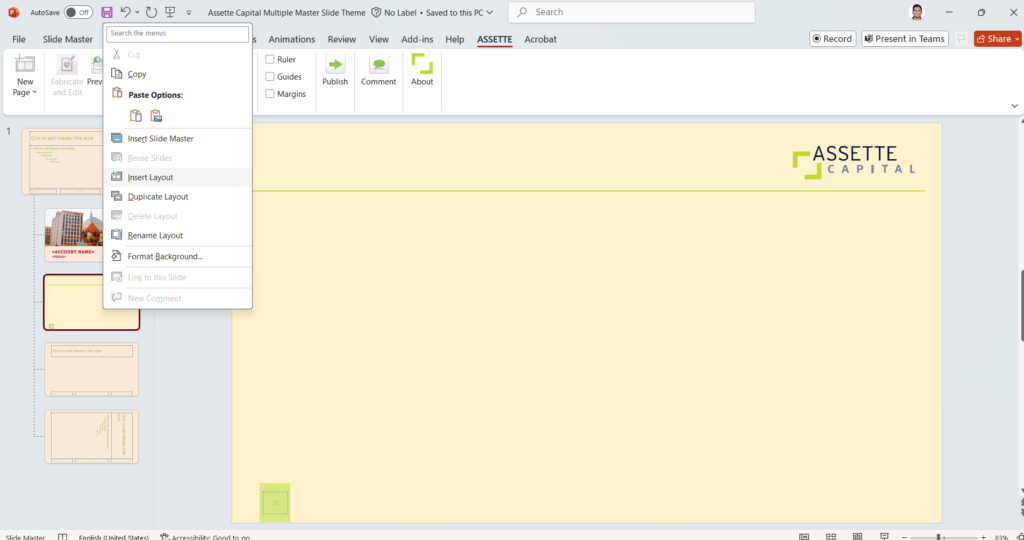
This will open the PowerPoint Master Slide view, where users can make adjustments to the current layouts, add new layouts, or delete those that are unnecessary. The PowerPoint native tools are available, allowing users full flexibility in designing slides to reflect their organization’s branding and style preferences.
To insert the logo, users can simply use the Insert Image option from the PowerPoint menu. Additionally, lines, shapes, and other objects can be added to structure the document by selecting relevant options from the Insert menu. For more flexibility, users can right-click on any layout in the Master Slide view and either copy or duplicate it, allowing them to create multiple brand styles within a single Brand Theme. This feature ensures that different document designs can coexist under one Brand Theme, offering a tailored yet consistent branding experience across all outputs.
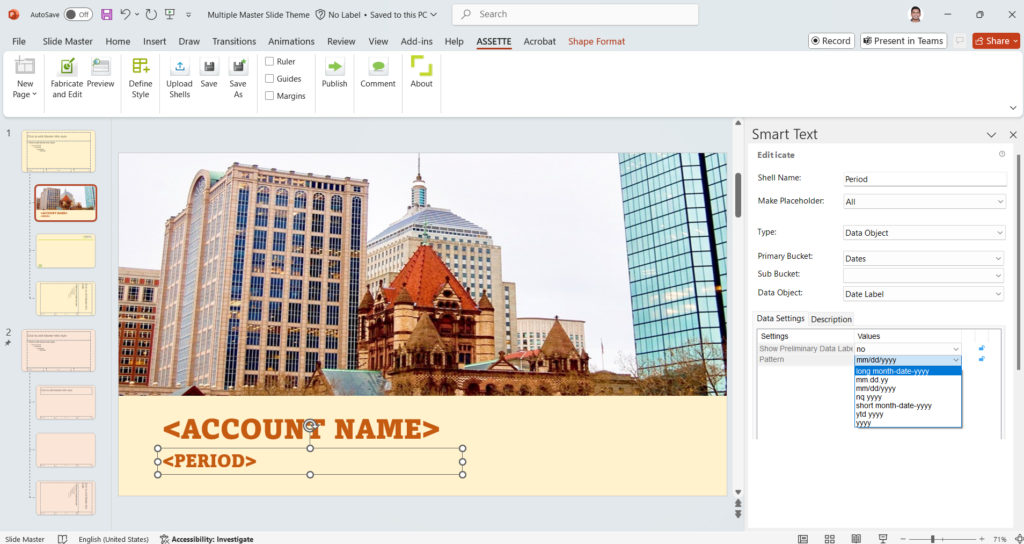
Users can insert dynamic content directly within the layouts of each Master Slide, making it easy to use a single cover page for multiple accounts or products. This flexibility allows for personalized outputs while maintaining consistent branding. By inserting a text box and using the Fabricate and Edit feature, users can map dynamic fields such as account name, product name, as-of date, and reporting period. This enables the same layout to adapt to different data sets automatically, creating tailored documents with minimal effort, while ensuring all relevant dynamic items are displayed correctly across accounts.
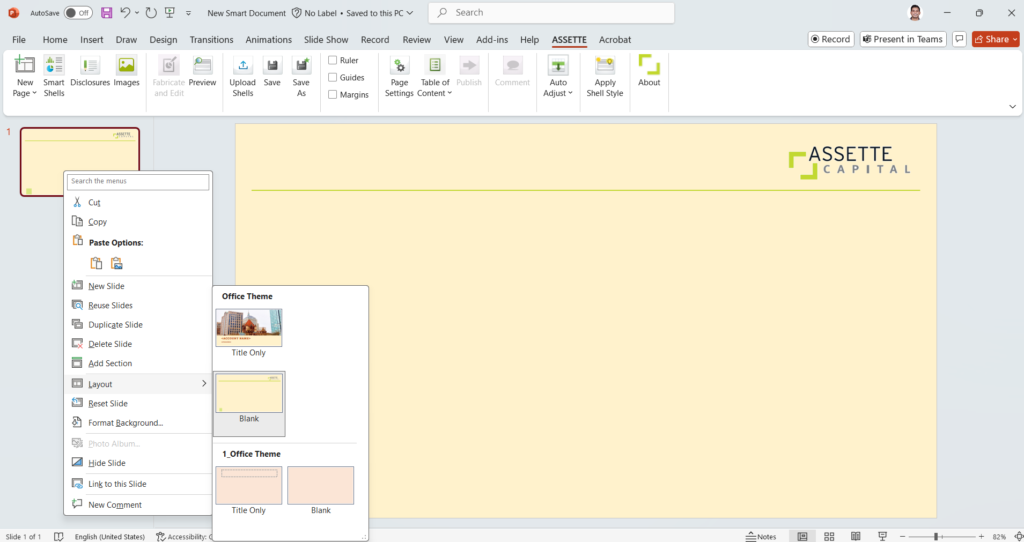
Once the Brand Theme is saved and published, users can select it when creating a new Smart Page. At this stage, the different layouts within the theme come into play. When the individual slide for the Smart Page opens, users must choose which layout from the Master Slides they want to apply. Whether it’s the cover slide or a customized layout such as a default blank slide that includes the logo and document structure, users have full control over the presentation style.
By default, Assette will open the “blank” layout when a theme is selected for a new slide. However, it’s important to note that users can rename these layouts within the Master Slide to give them more meaningful names. For example, instead of “blank slide,” it could be renamed to something specific like “Client Report Default Style” or “Pitchbook Strategy Style.” This makes it easier to identify and apply the right layout for each document type, ensuring consistency and relevance across different outputs.
In short, Brand Themes give users the power to create dynamic, branded documents efficiently while maintaining a high level of customization across multiple accounts and document types.