The Assette Block Editor VS Code extension enables users to manage and synchronize Assette content blocks directly within Visual Studio Code (VS Code). This article provides a self-contained guide for installing and setting up the extension, including prerequisites, locating the extension in the VS Code marketplace, installation steps, version requirements, and initial configuration. It is intended for new users who are setting up the extension for the first time and need a complete walkthrough without requiring additional support.
Prerequisites #
Before installing the Assette Block Editor extension, ensure the following prerequisites are met:
1. Visual Studio Code Installed #
You must have Visual Studio Code installed on your computer.
- To install VS Code:
- Visit https://code.visualstudio.com/
- Choose the appropriate version for your operating system (Windows, macOS, or Linux).
- Download and run the installer, following the on-screen instructions.
Note: For the best experience, use the latest stable release of VS Code.
2. Single Sign-On (SSO) Has Been Enabled #
Single Sign-On (SSO) must be enabled for the target Assette tenant in order to access Data Blocks. While users may install the Assette extension without enabling SSO, users will be unable to log into the tenant or perform any actions.
3. Python Has been Installed #
The user has installed Python version 3.0 or higher:
4. Internet Access #
The extension requires an active internet connection for downloading, logging in, and syncing with Assette services.
Locating the Assette Block Editor Extension #
Once Visual Studio Code is installed and running:
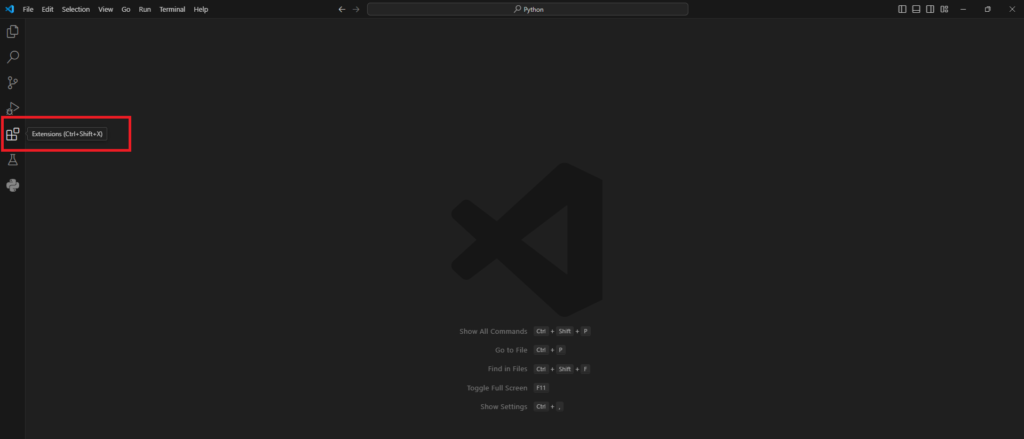
- Open VS Code.
- Click on the Extensions icon in the Activity Bar on the left side of the window (or press
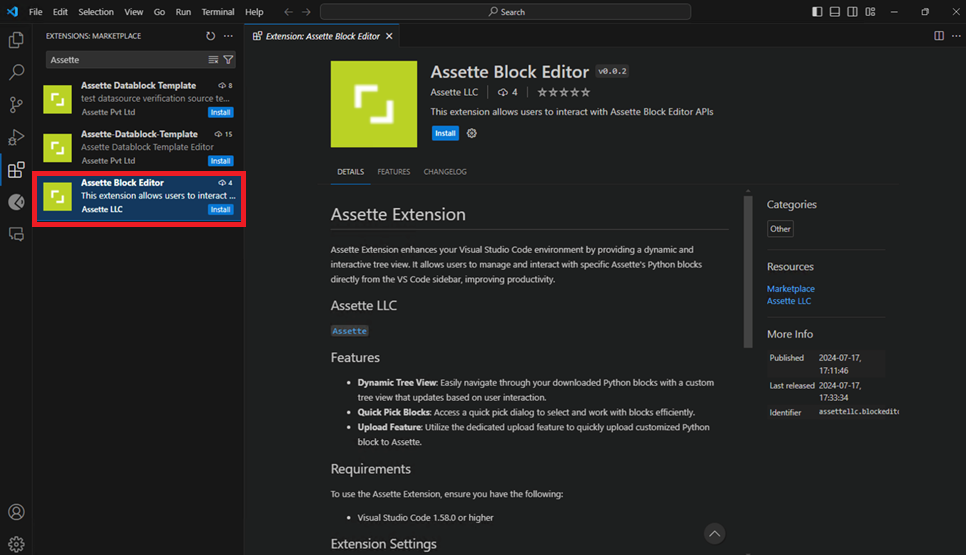
Ctrl+Shift+Xon Windows/Linux orCmd+Shift+Xon macOS). - In the search bar at the top of the Extensions panel, type Assette Block Editor.
- Locate the extension titled Assette Block Editor in the results.
Important: Ensure that the version of the extension is v0.0.8 or higher. Versions prior to this may not include critical features or bug fixes.
Installing the Extension #
To install the Assette Block Editor extension:
- In the Extensions panel, click the Install button next to the Assette Block Editor listing.
- Wait for the installation to complete. Once installed, the button will change to Uninstall, and you will see a confirmation that the extension has been successfully installed.
After installation, an Assette icon will appear in the Activity Bar (left sidebar) of VS Code. This icon opens the main interface of the extension.
If you have previously installed an older version of the extension, uninstall it first to prevent conflicts. To uninstall:
- Open the Extensions panel.
- Locate the older version.
- Click the gear icon (⚙) next to it.
- Select Uninstall and then reinstall the latest version.
Verifying the Installation #
After installing the extension:
- Locate the Assette icon in the Activity Bar.
- Click the icon to open the Assette Block Editor panel.
- If the panel opens successfully, the installation has been completed correctly.
The panel will prompt you to Sign In, indicating that the extension is ready for use. Proceeding beyond this point requires authentication with your firm’s credentials, which is covered in the next setup phase.
Initial Configuration Considerations #
Before logging in or beginning to work with block files, consider the following configuration items:
- Workspace Folder: It is recommended to open a dedicated project folder in VS Code where the downloaded blocks and related files will be stored. To do this:
- Go to File > Open Folder (or
Cmd+O/Ctrl+O). - Select or create a new folder for your Assette development work.
- Go to File > Open Folder (or
- Trust the Workspace: Upon opening a folder, VS Code may prompt you to “trust” the workspace. Accept this prompt to ensure the extension can operate with full permissions.
Troubleshooting Installation Issues #
If you experience issues installing or accessing the extension:
- Ensure you are connected to the internet.
- Confirm that you have installed VS Code and not VS Code Insiders or another editor.
- Verify that there are no conflicting extensions installed that interfere with network activity.
- Check for error messages in the Output panel or Extensions log by clicking View > Output and selecting the relevant source from the dropdown.