This article shows how to create Data Settings that allow end users to group Data Object—and by extension a Smart Shell. This article also assumes that the user already has an understanding of Data Blocks, Data Objects, Smart Shells, and Smart Pages. This article further assumes that the user has the Data Object Editor and/or Data Object Admin role assigned to their account.
For this example, we will be using a holdings-based data set and grouping by the Asset Class Name (e.g., Equity, Cash, etc.) and then adding options such that the user can choose to sort by any of the available columns. When complete, the Data Settings shown to the end user in the Fabricate & Edit Panel in Assette PowerPoint Editor will be allow the user to group and sort the rows as shown below.

To group rows within the Data Object, we need to start by opening the Grouping Tab in the Data Object Editor. To get to the Grouping Tab either open an existing Data Object or create a new Data Object. Next, fill out the General Info Tab, add a data source in the Data Source Tab, and add columns using the Columns Tab if this has not already been completed.
Adding Group Options #
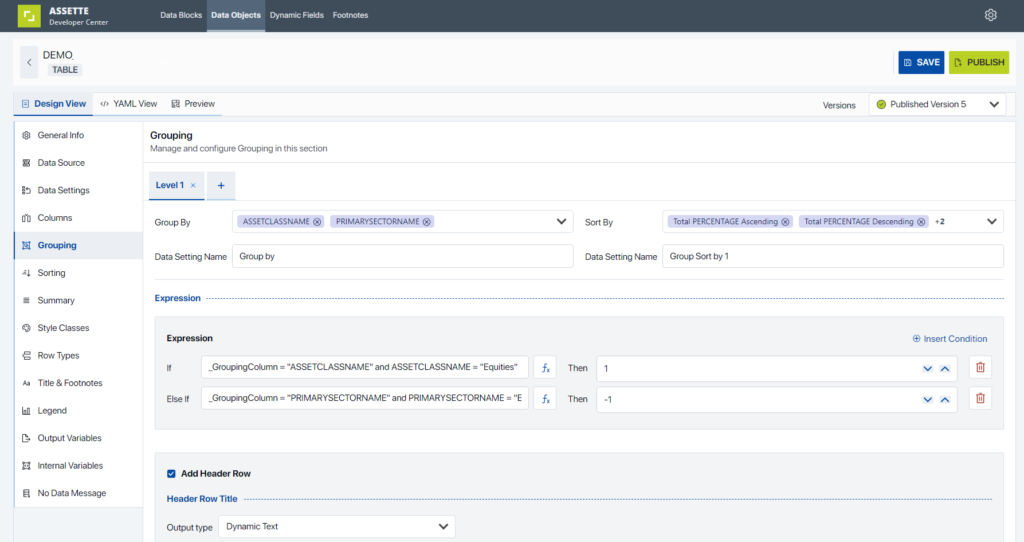
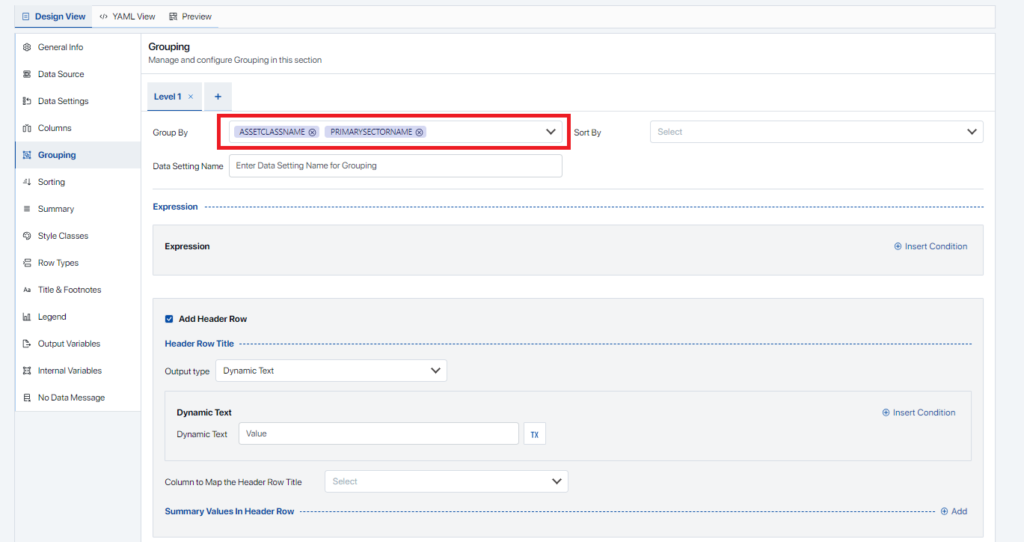
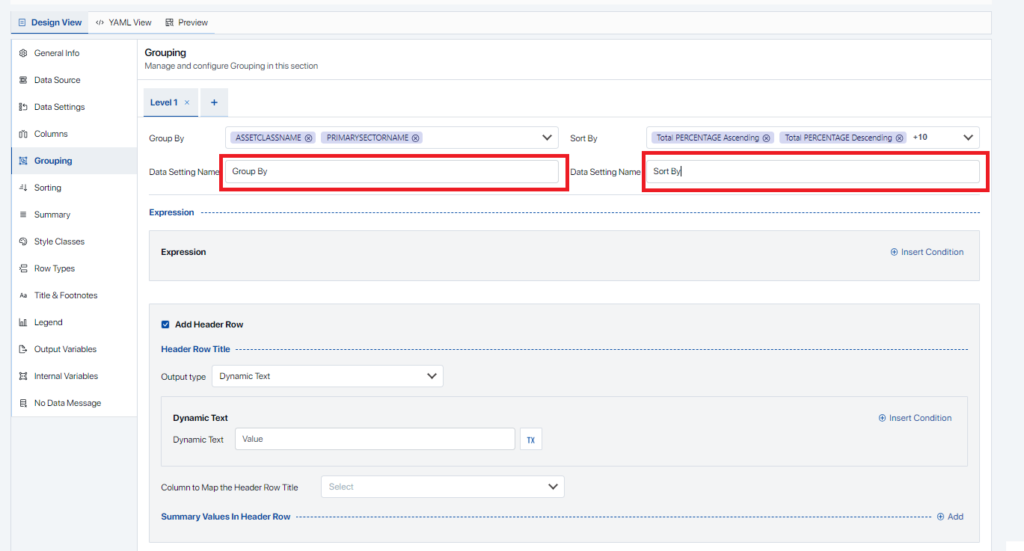
Once the above has been completed, creating a group is fairly straightforward. We start by selecting the “Group By” options—this allows the user to select which column the rows should be grouped by. In this example, since we want to group by Asset Class (e.g., Equity, Cash, etc.) we select the columns “ASSETCLASSNAME” and “PRIMARYSECTORNAME” from the dropdown.
Assette recommends that the number of grouping options be kept to a minimum, and to ensure that groups make sense. Remember, just because you can, does not mean that you need to. In this case, allowing end users to group by price, security name, etc. won’t make sense, so we won’t include these options.
Adding Sorting Options #
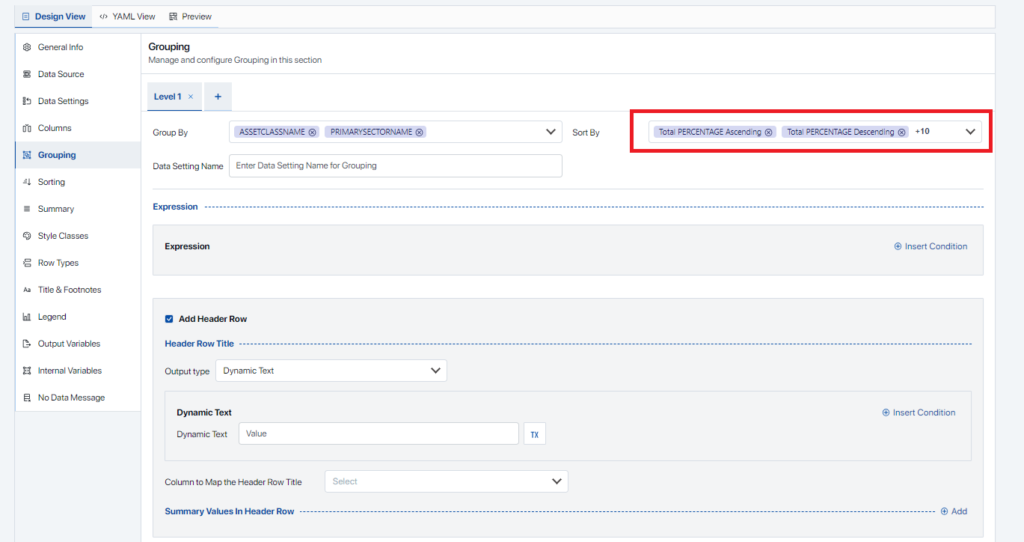
Next, we surface the option to sort the grouping. Add or remove sorting options as needed by selecting from the “Sort By” dropdown. Since any column could feasibly be used, we have included all available columns and have included both ascending and descending.
Naming the Data Settings #
We then assigning a name for the grouping setting we have created. Since this name will be shown to end user in the Fabrication Panel, ensure that the display name coveys what the setting does (i.e., don’t name the Data Setting “Test”). If only one grouping option is being surfaced, “Group By” is usually sufficient. In cases where multiple grouping levels are involved, Assette suggests using consistent naming convention from level to level and between objects (e.g., use “Grouping Level 1” and “Grouping Level 2” or use “Group By” and “Then Group By”)
Ordering Groups #
This topic is covered in more detail in the Group Expressions & Group Ordering article.
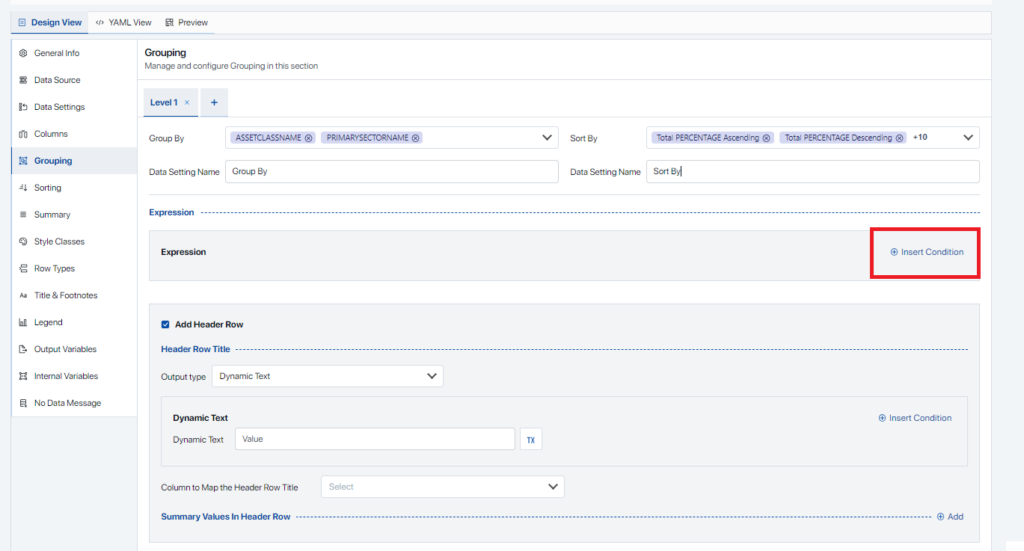
To organize groups alphabetically or numerically use, use the “Sort By'” option at the top of the Grouping Tab. In cases where a group needs to be conditionally re-organized (e.g., forced to the top or bottom of the list), use the “Expressions” section of the to create a custom expression which determines the relative order of the group. In this example, we will place the ASSETCLASSNAME “Cash” at the bottom of the table. In this case, start by clicking on “Insert Condition” in the Expressions section of the Grouping Tab. For more information on how to create expressions, see Expressions & Group Ordering.
Adding Group Header Rows #
This topic is covered in more detail in Creating Group Header Rows.
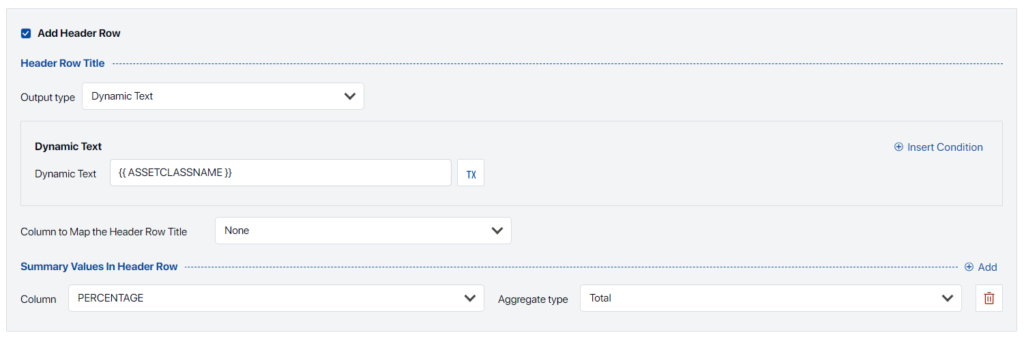
To add row directly preceding a group, use the “Header Row” section of the Grouping Tab. To start select whether the Output Type for the row should be Dynamic or a Static value.
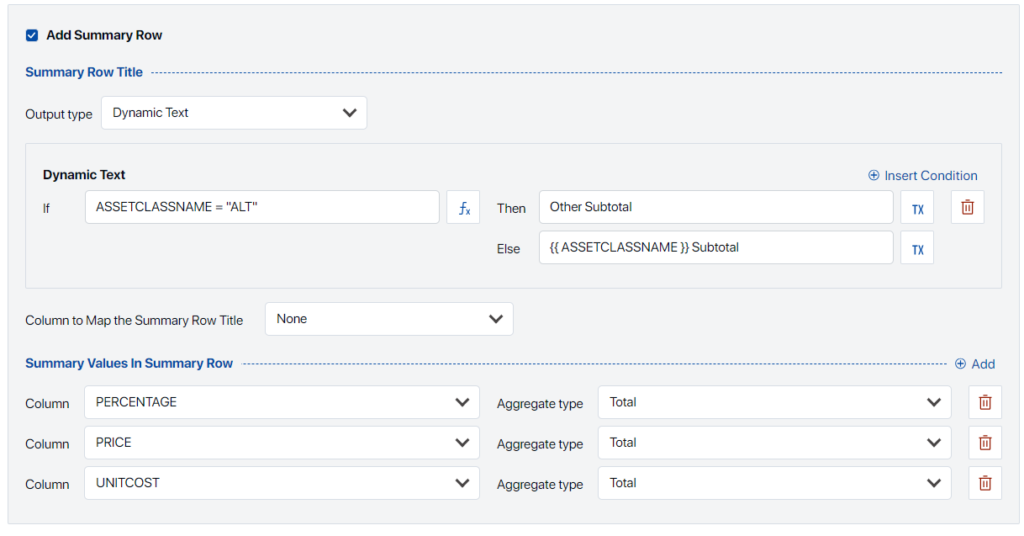
Adding Group Summary Rows #
This topic is covered in more detail in Creating Group Summary Rows.
To add row directly after a group, use the “Summary Row” section of the Grouping Tab. To start, tick the checkbox next to the “Add Summary Row” at the top of the section, if not done, the Group Summary Row will not be surfaced in the Smart Shell.