This article shows how to create a Configuration Data Block and use the resulting certificate to access resources. This tutorial will use Assette’s Snowflake Demo Database as an example— creating a Certificate Data Block follows the same basic steps regardless of source.

Prerequisites #
- Understanding of Data Blocks
- Data Block Editor role assigned to user
- Data Block Admin role assigned to user (Optional)
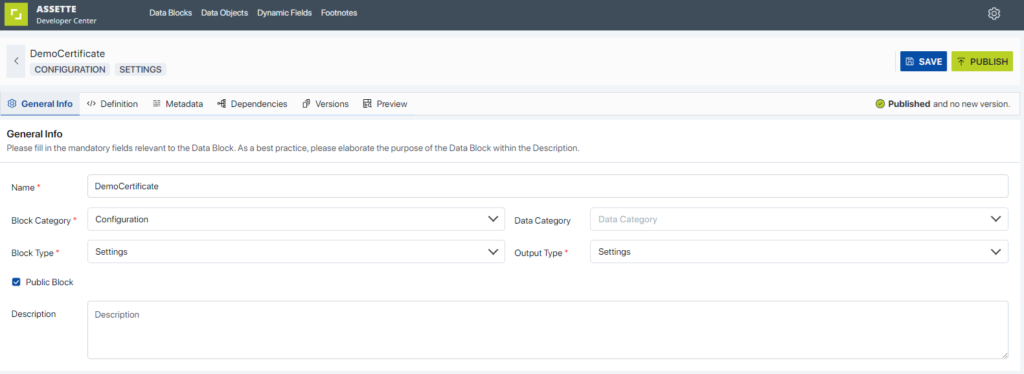
To create a Certificate Data Block, begin by creating a new Data Block, or optionally, create a copy of the Assette Snowflake Demo Certificate Data Block. Ensure that the Data Block has been a unique name and that the fields in the General Info tab of the Data Block Editor have been set up as shown below.
| Field | Value |
|---|---|
| Block Category | Certificate |
| Block Type | Settings |
| Data Category | None |
| Output Type | Settings |
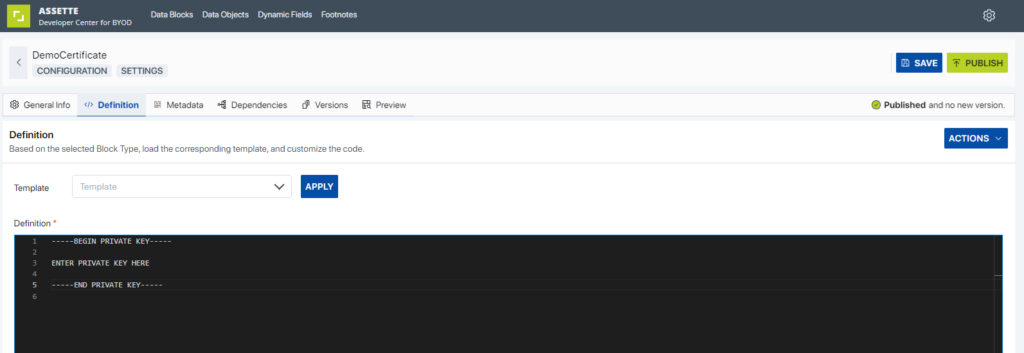
On the Definition Tab of the Data Block Editor, enter the Certificate’s Private Key as shown below. If creating a copy of the Assette Snowflake Demo Certificate, be sure to replace the entire key. Be sure to keep the first and last rows (e.g., “—–BEGIN PRIVATE KEY—–” and “—–END PRIVATE KEY—–“).
-----BEGIN PRIVATE KEY-----

ENTER PRIVATE KEY HERE

-----END PRIVATE KEY-----
Since this is a Certificate Data Block, there is no need to edit the Metadata Tab or Dependencies Tab. Additionally, if a user attempts to preview the Data Block’s response on the Preview Tab, the expected response will be an error, as shown below— Configuration Data Blocks are read-only and only ever expected to be used as a dependency for another Data Block.
Example Request #
{}Example Response #
{
    "errors": [
        {
            "block_name": "DemoCertificate",
            "errors": [
                "Unsupported block type '<class 'type'>'"
            ]
        }
    ],
    "success": false,
    "logs": []
}